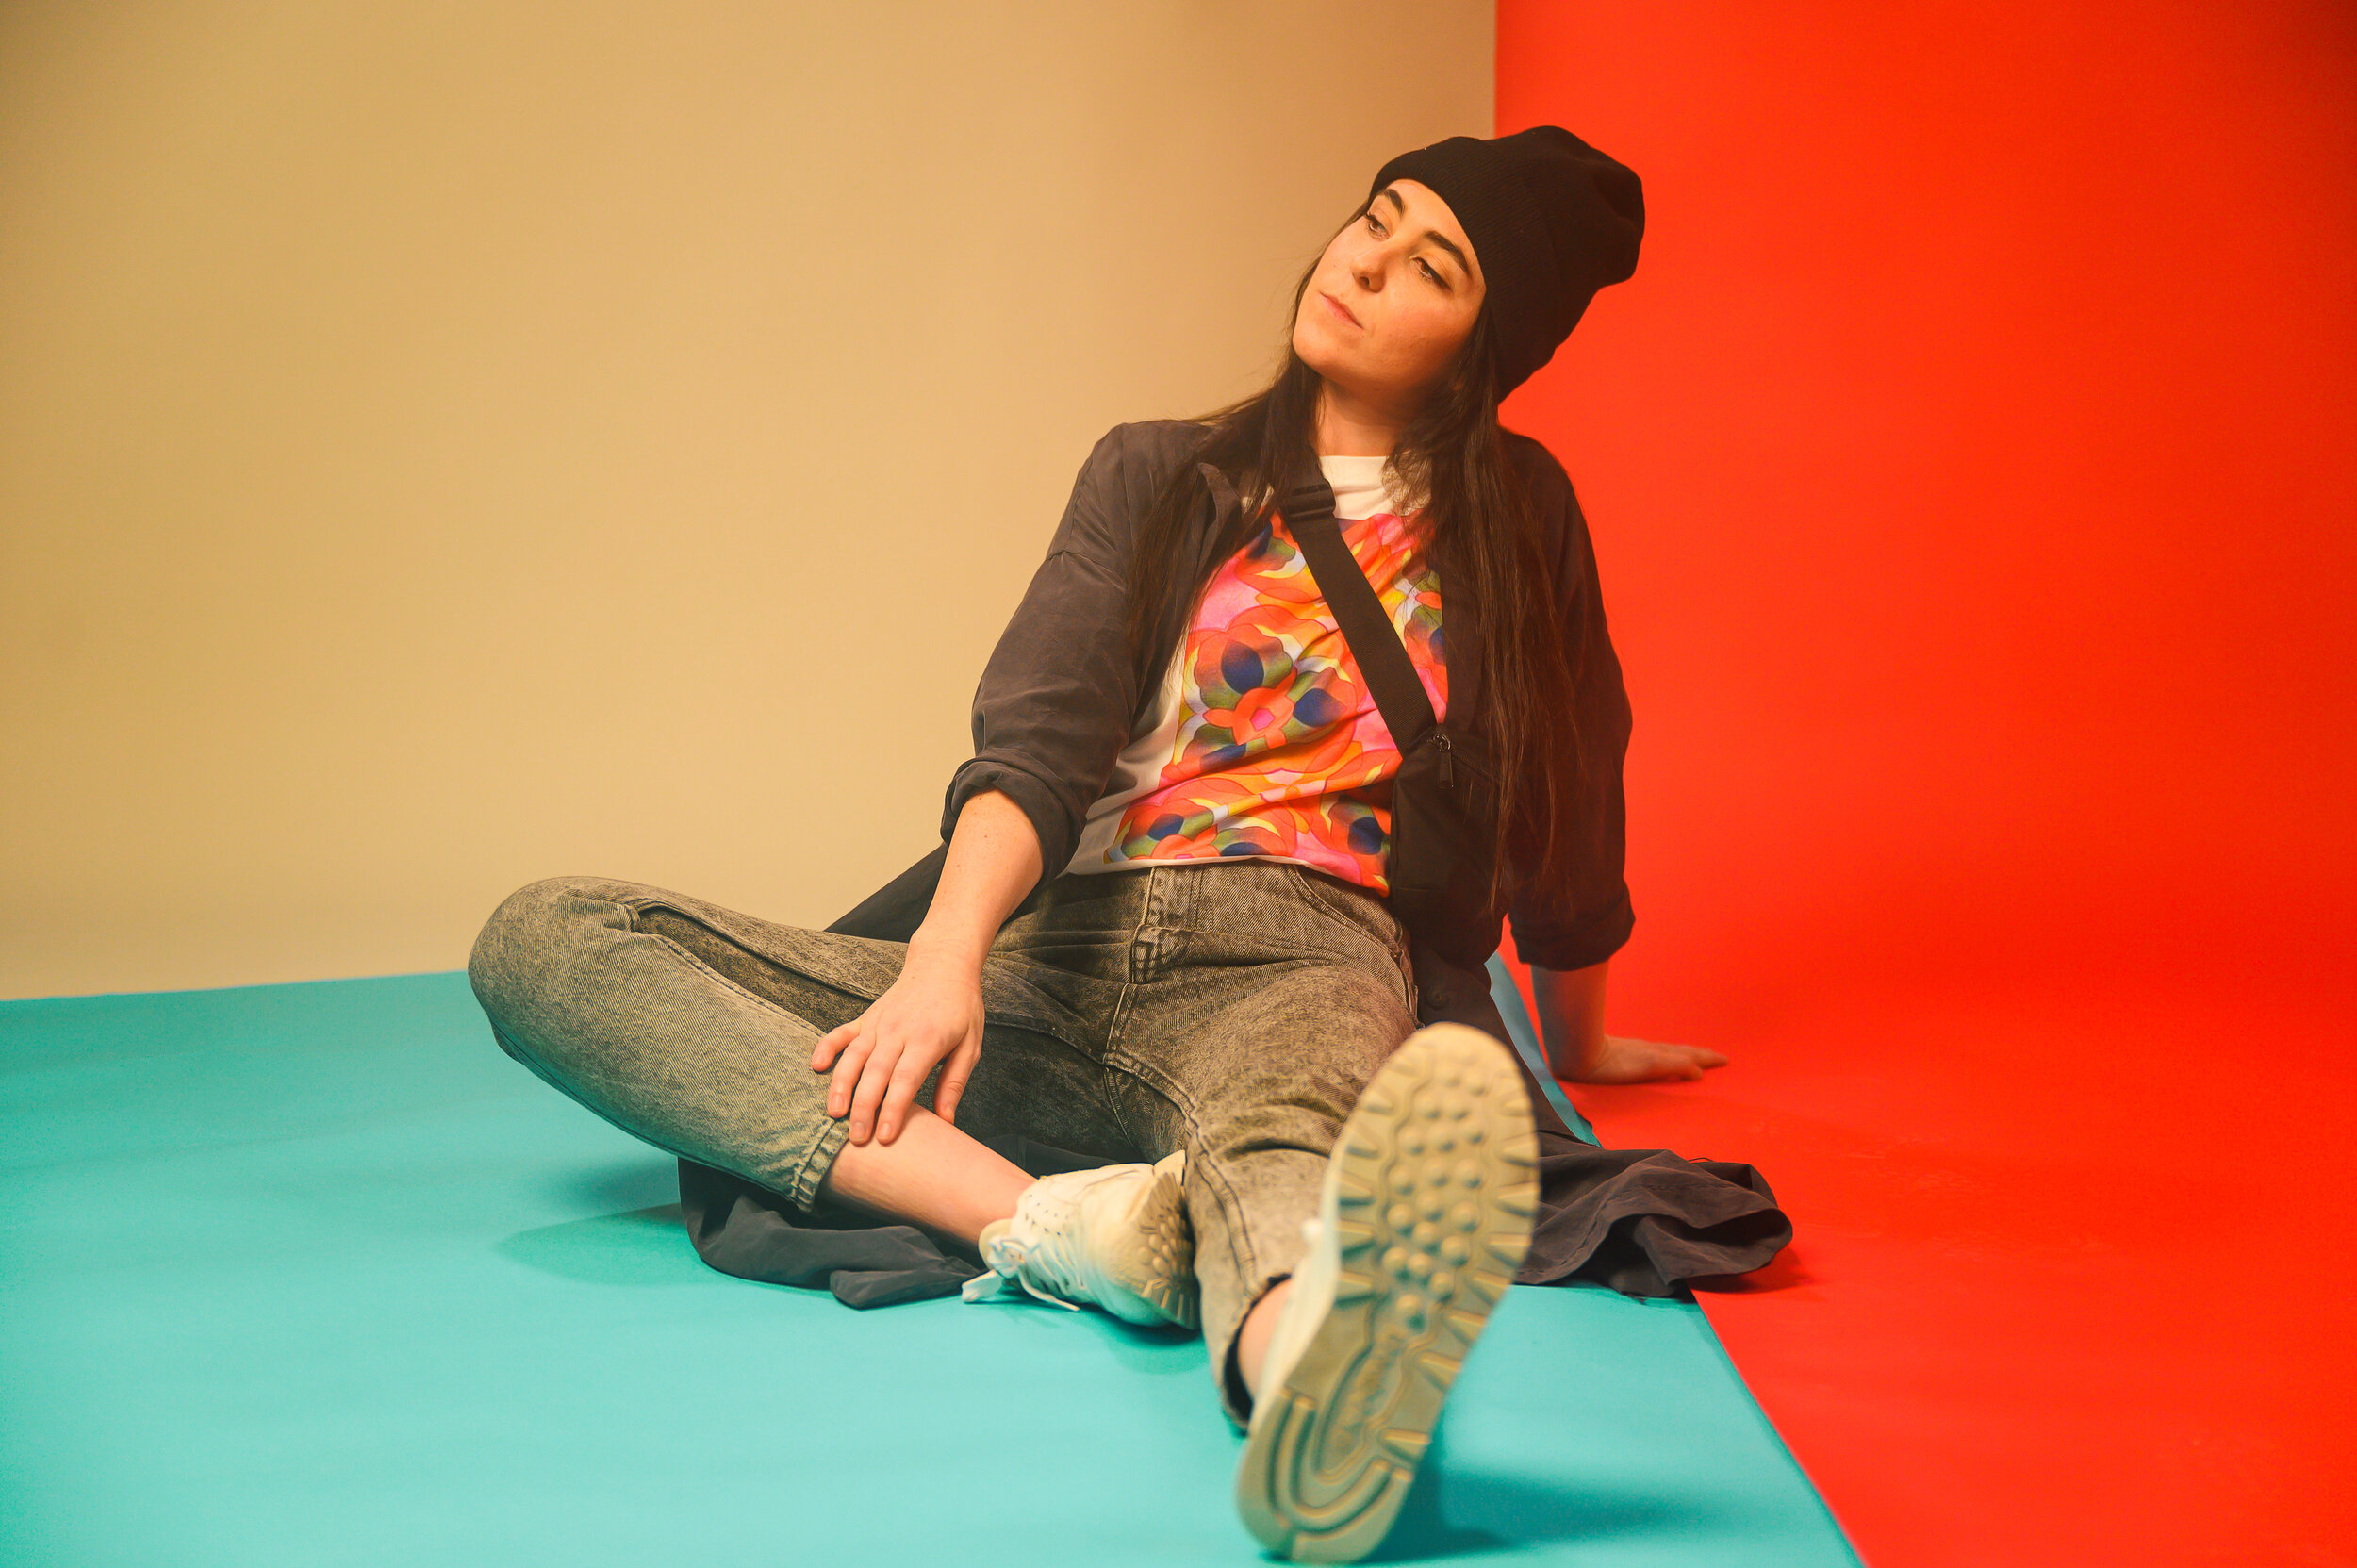
Shaping light, it’s all we do. I know there are the angles we choose, composition, and then the compromising camera settings to follow, but ultimately, it’s what’s in front of the camera that counts. Following the product shoot with the amazing crew at Day Job, I was introduced to the gobo (go-between). The cucoloris board is a great asset to have on board, along with a haze machine. The cucoloris board shapes light so it doesn’t look as artificial but still creates mood was the goal for this shoot for Meri Peti.


Piret - Executive PORTRAITS
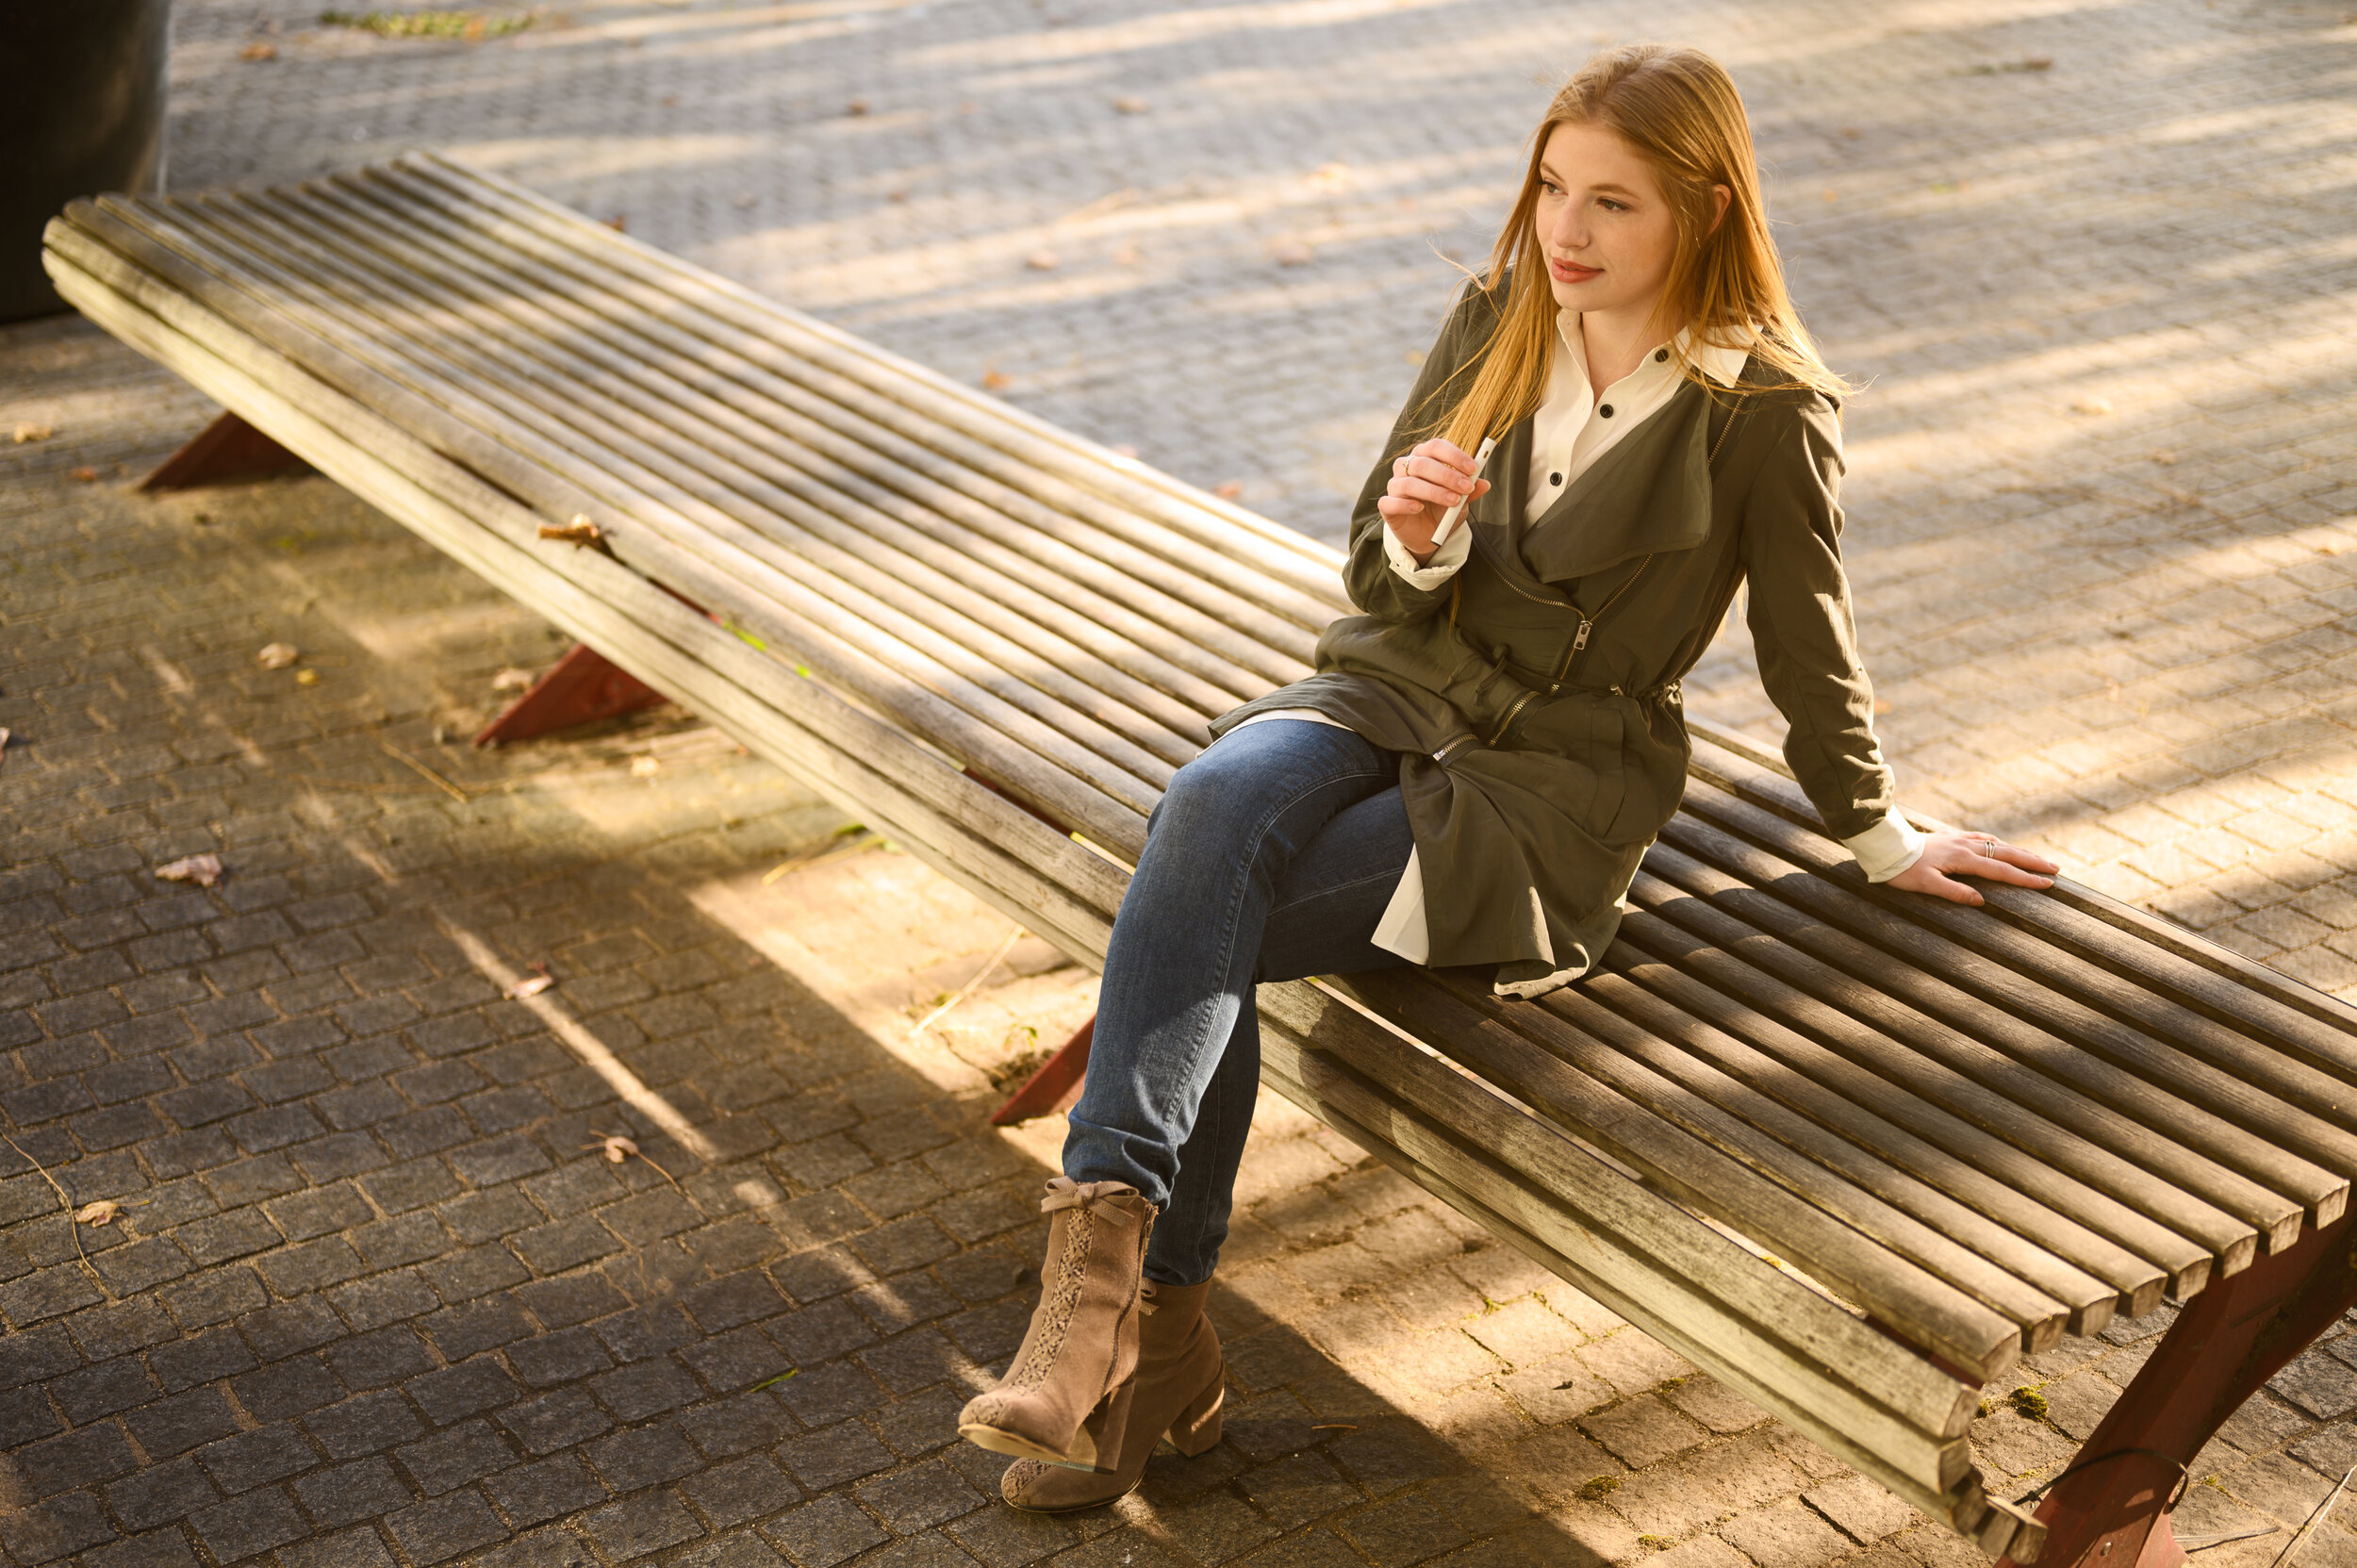
Portrait, to me, are incredibly important. They stand as a bookmark in time either illustrating an achievement or notable event. When it comes to executive portraits, it’s more of a note of seniority. Preparing before a shoot and asking all the right questions really comes into play here. One question that really helps me understand a client need is where will the photo be used. I was informed that it would be used for a website initially but probed a bit. I would find out that most of the executives do a bit of speaking. With the right answers, I know we will not only deliverer tight headshots, but half poses as well. I’ve worked with designers before, and they all appreciate a bit of negative space.

Photographing people is what makes up most of my work. Getting to know someone with very little lead time is a skill. Not one that I’ve perfected but I do try to improve from one client to the next. One of the most important goals when doing a session is to get my client comfortable. I can’t really give tips here, but I’ll I can offer up is to be genuine. Be yourself and have a game plan. It’s completely possible to drive a conversation while directing your client to get the most natural expression and visually pleasing pose.

Portrait work has been a part of your work since the beginning. Your client will not always open up to you from the beginning. You will have to do some work here as well, unless they are either a dancer or done theatre. Believe me, I’ve lucked out where some clients have taken charge of the shoots before.

Squelch
Colors. This was the basis of this shoot. I started with setting up the multiple colored backdrops and moved onto gelling the constant lights. Working with a googled color wheel, I switched out gel colors until it seemed pleasing to the eye. Sometimes it a trial and error process before you land on the right combination. A big help is the use of constant lights. You might need to shoot at a higher ISO, but seeing that you get versus waiting to shoot a photo with flash helps.


Greentank
I was going to rave about Nikon’s new lenses but the lenses don’t even matter if you can’t find good light. I’ll walk you through the process of the first shot. I knew the lens I wanted to use, the 85mm Nikkor 1.8 S. This is dubbed a portrait lens for the amount of magnification it produces. 85mm+ is always great for portraits cause of the compression, it brings backgrounds closer than they seem and helps produce a photo with minimal distortion.
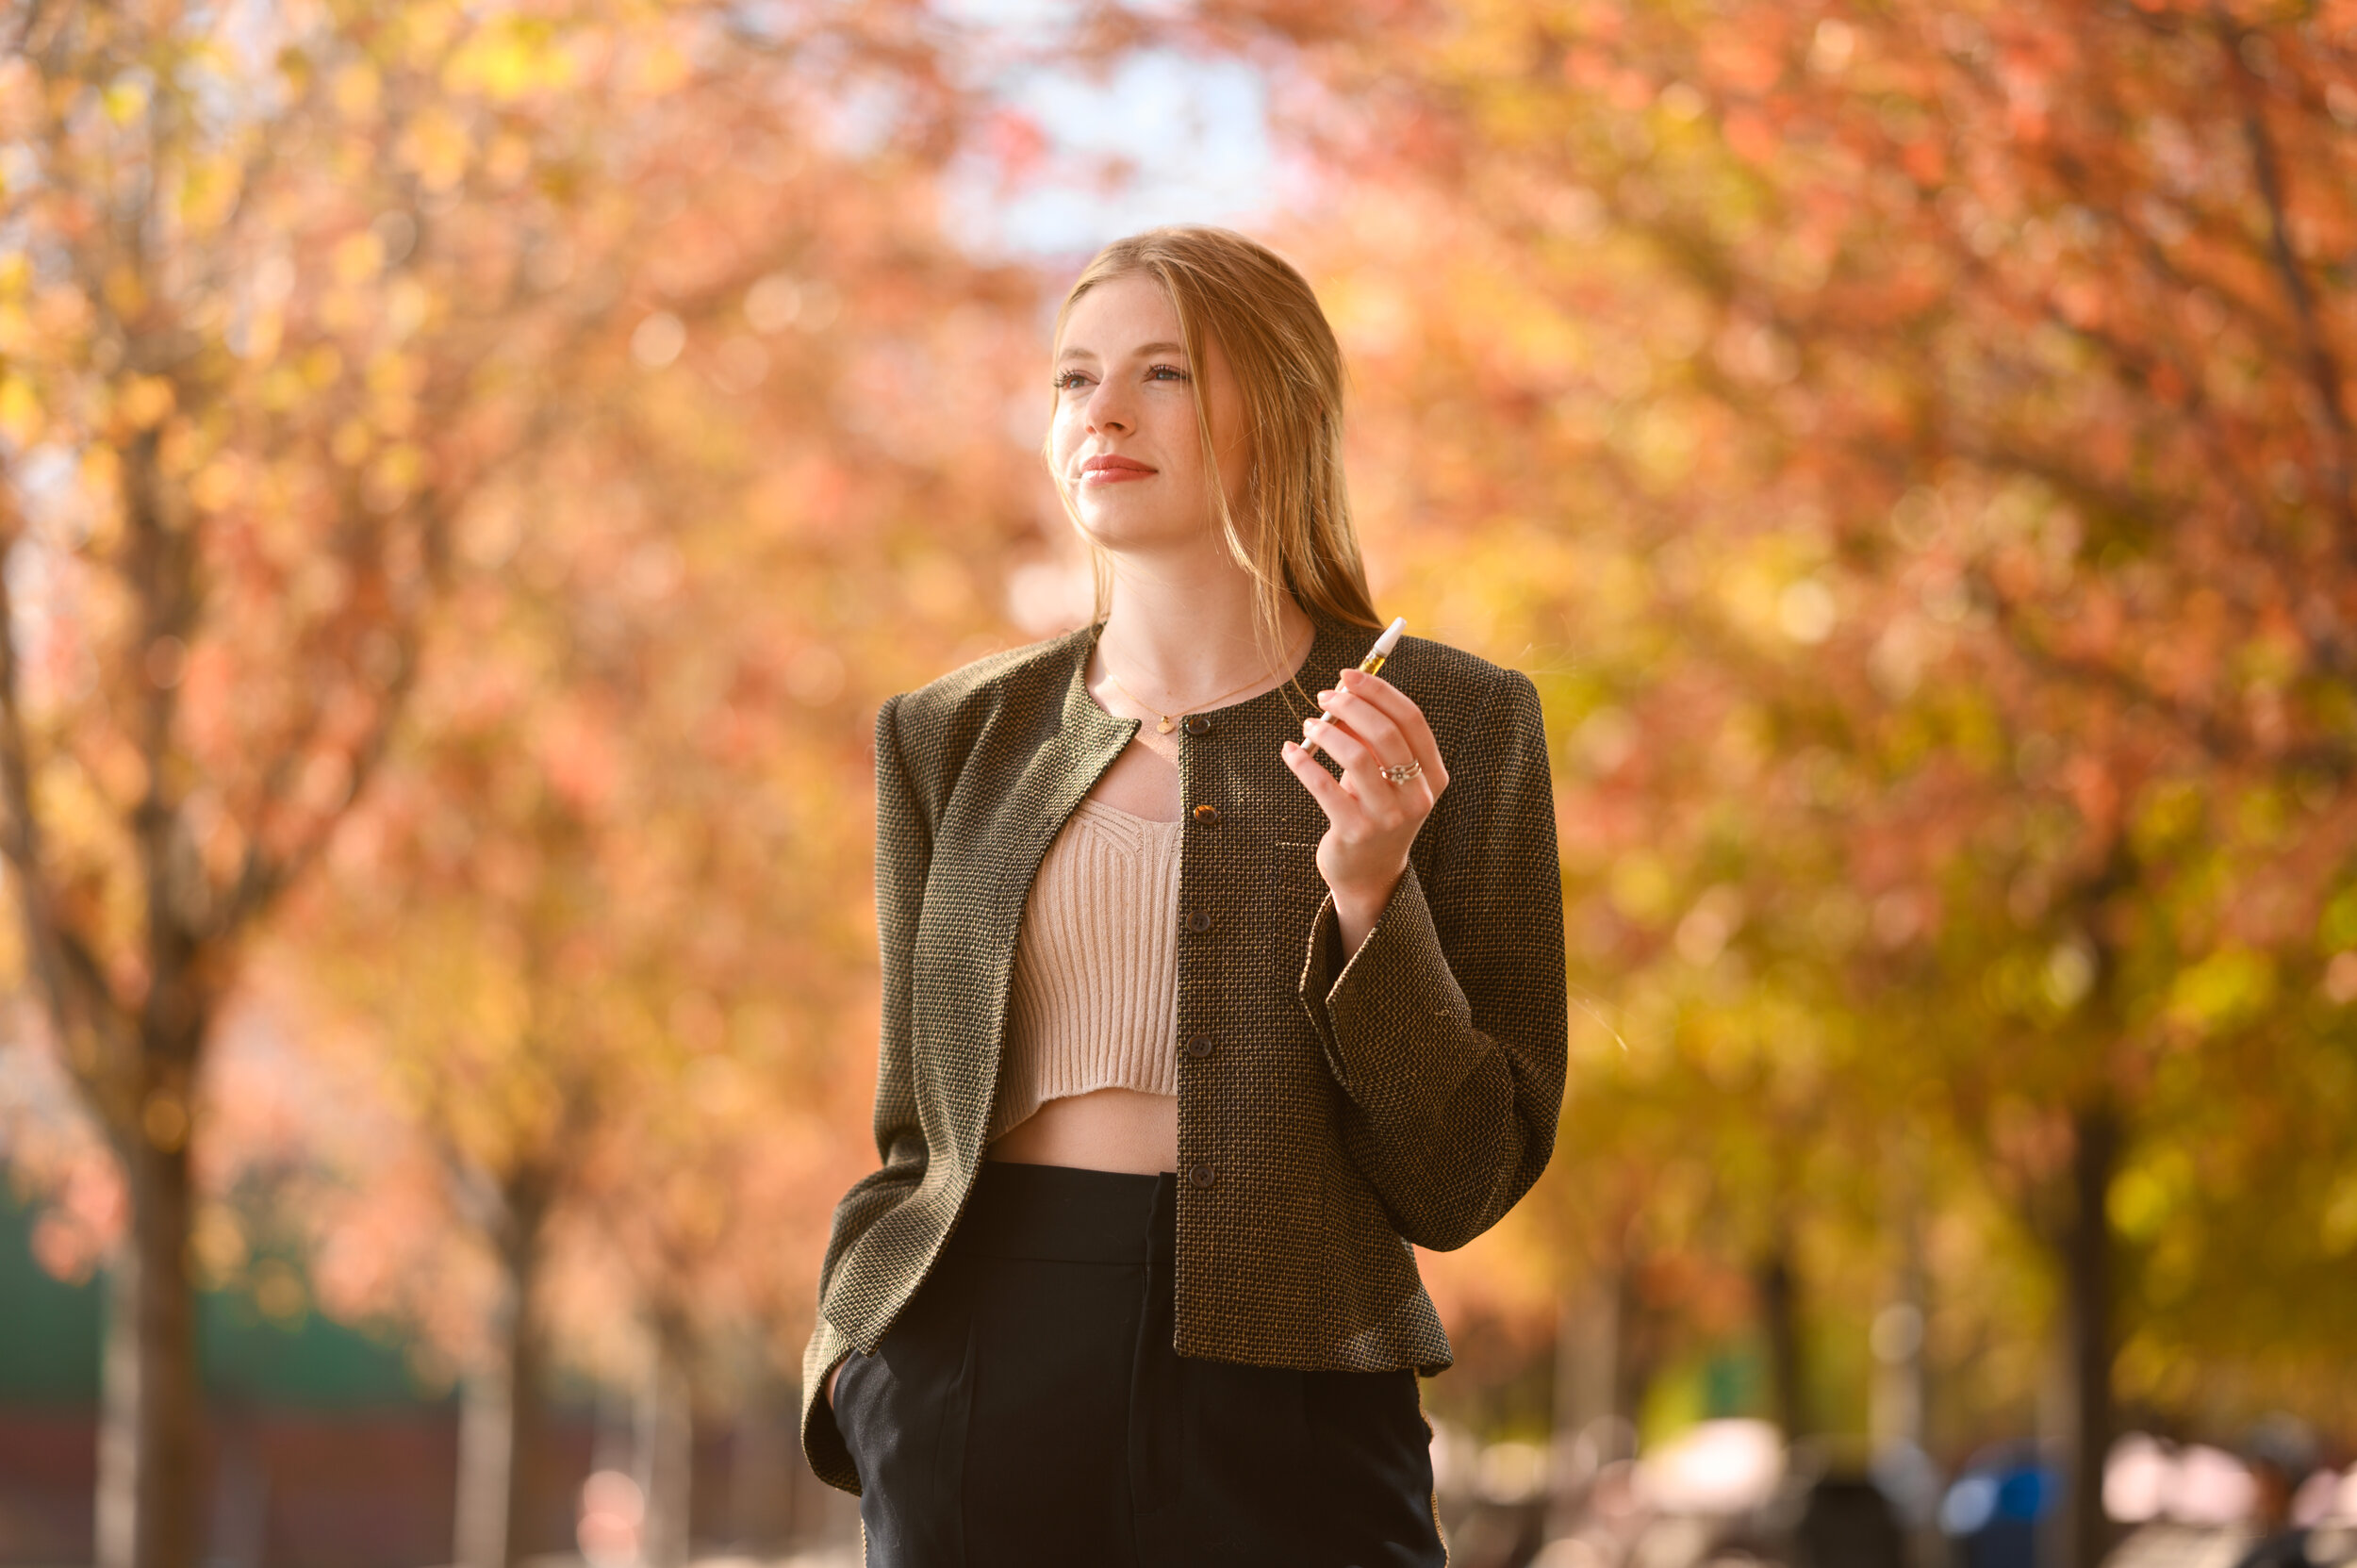
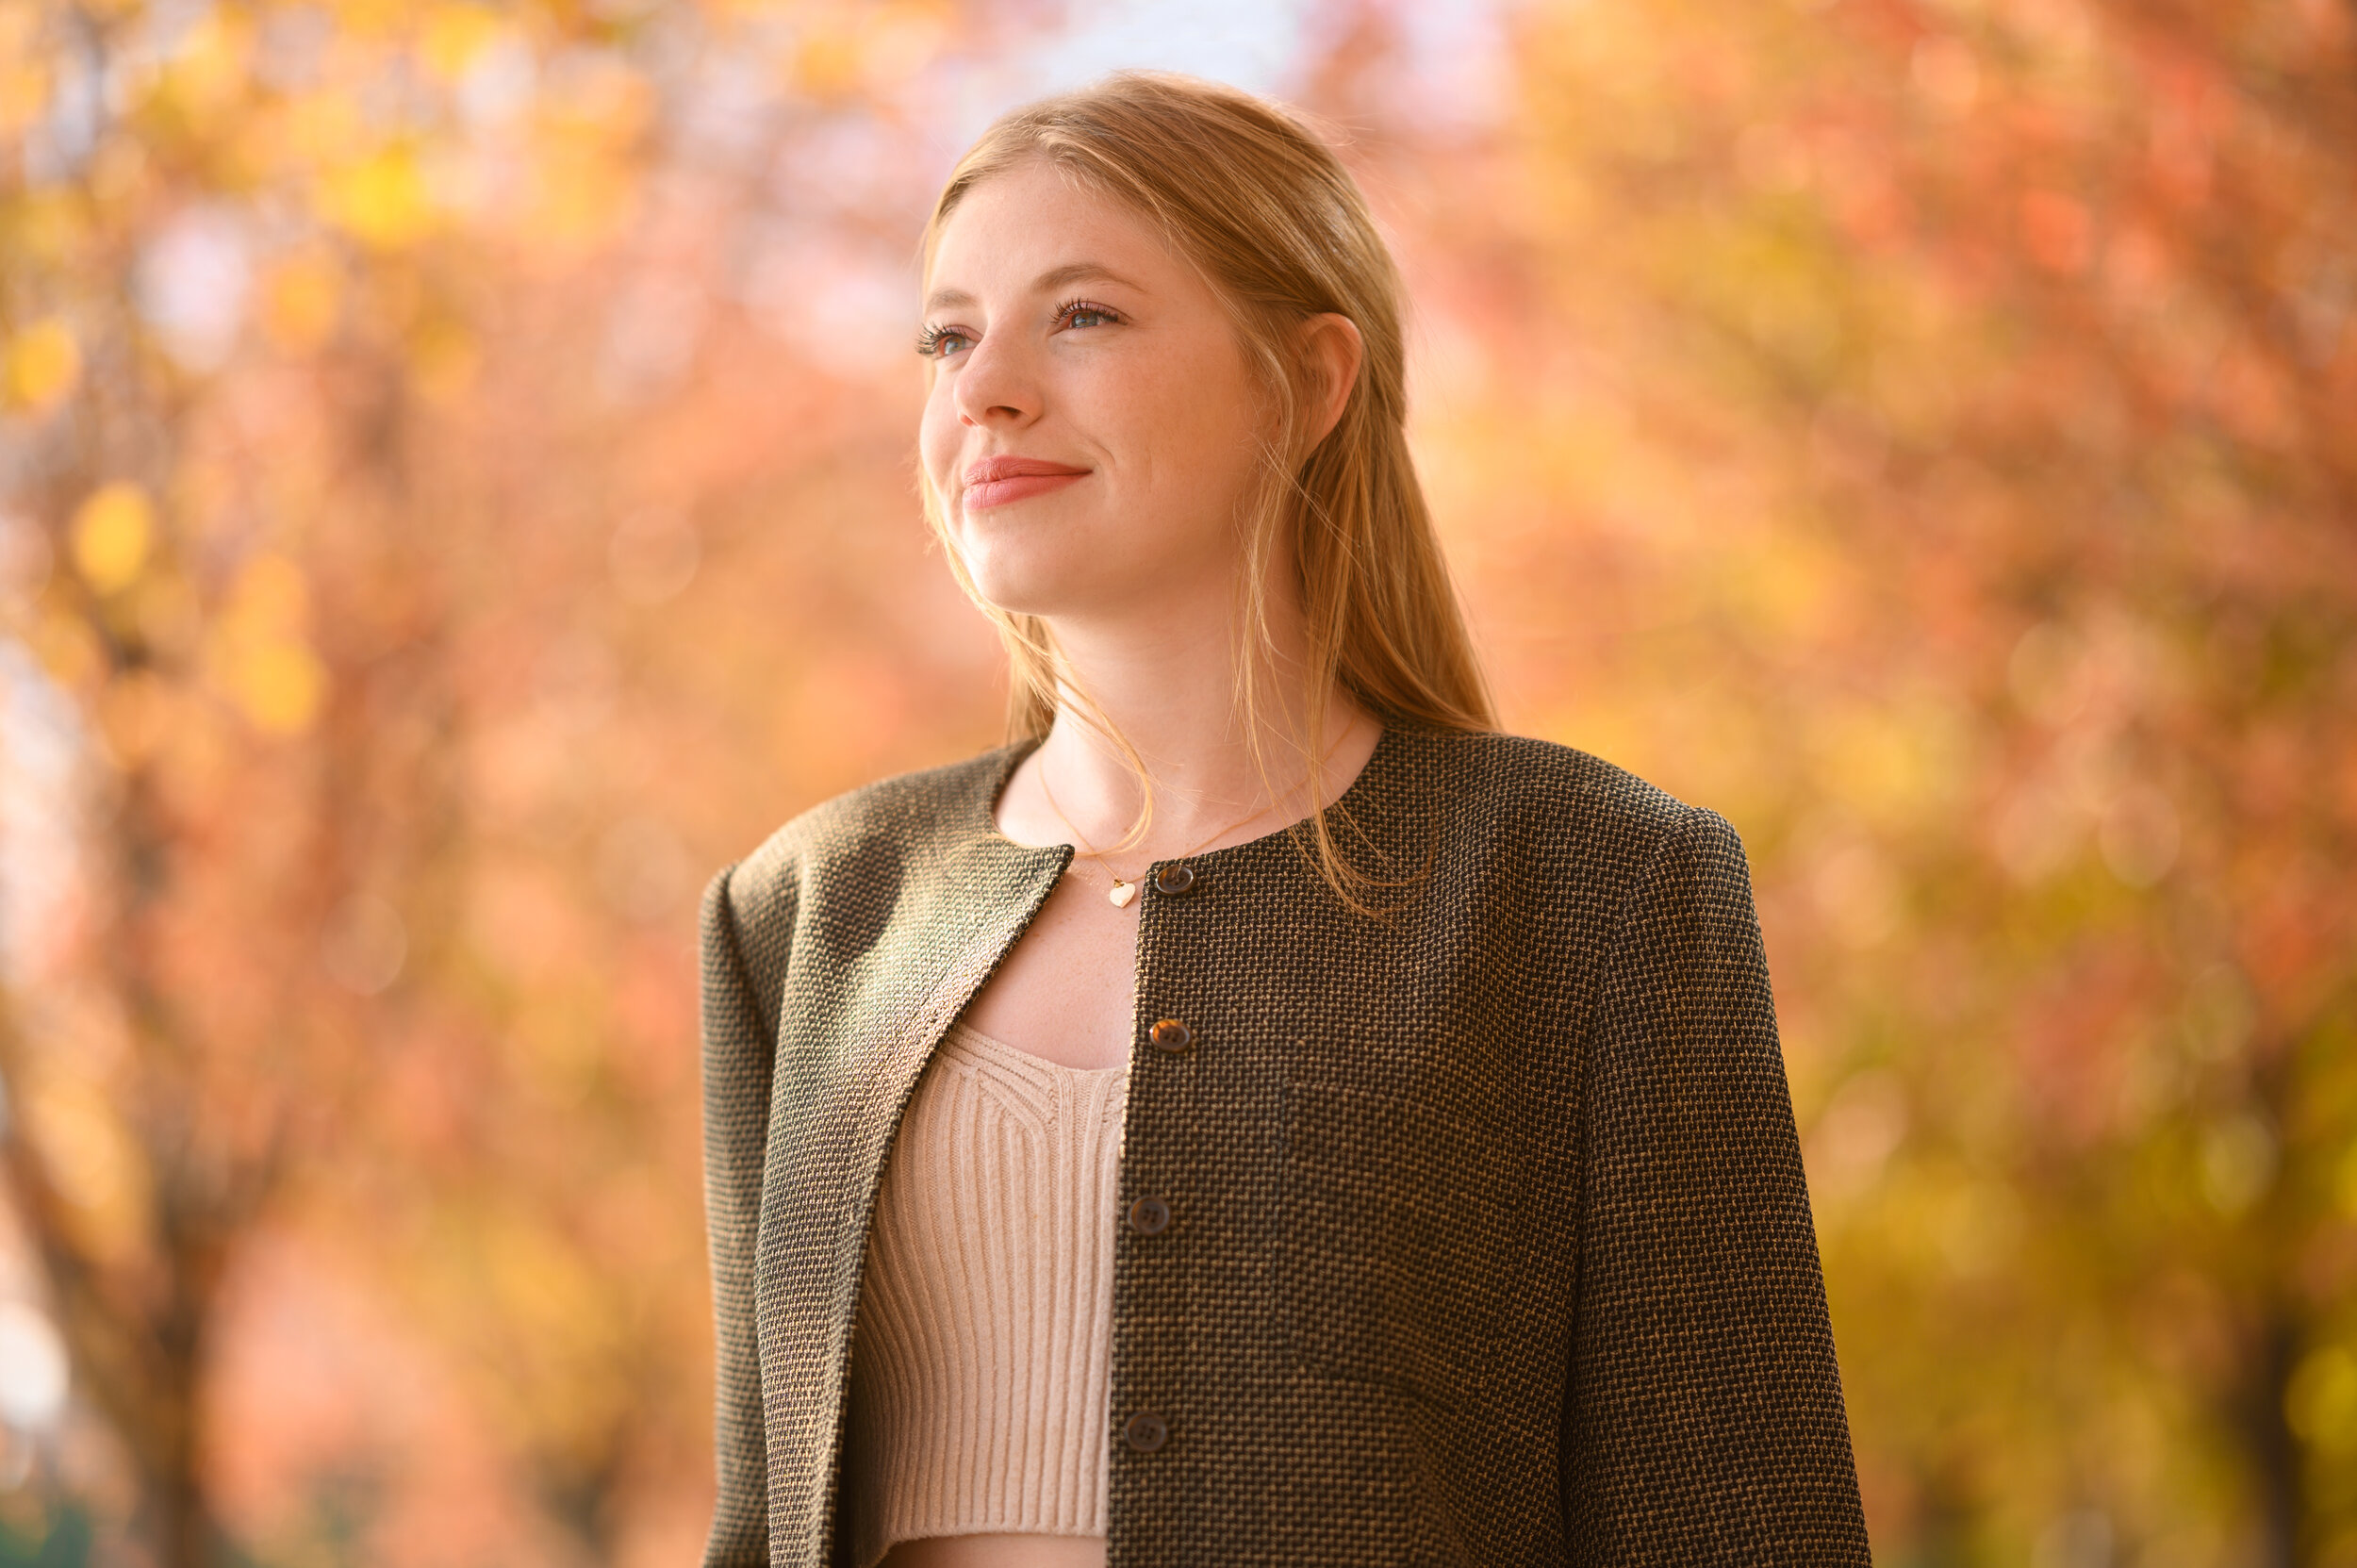
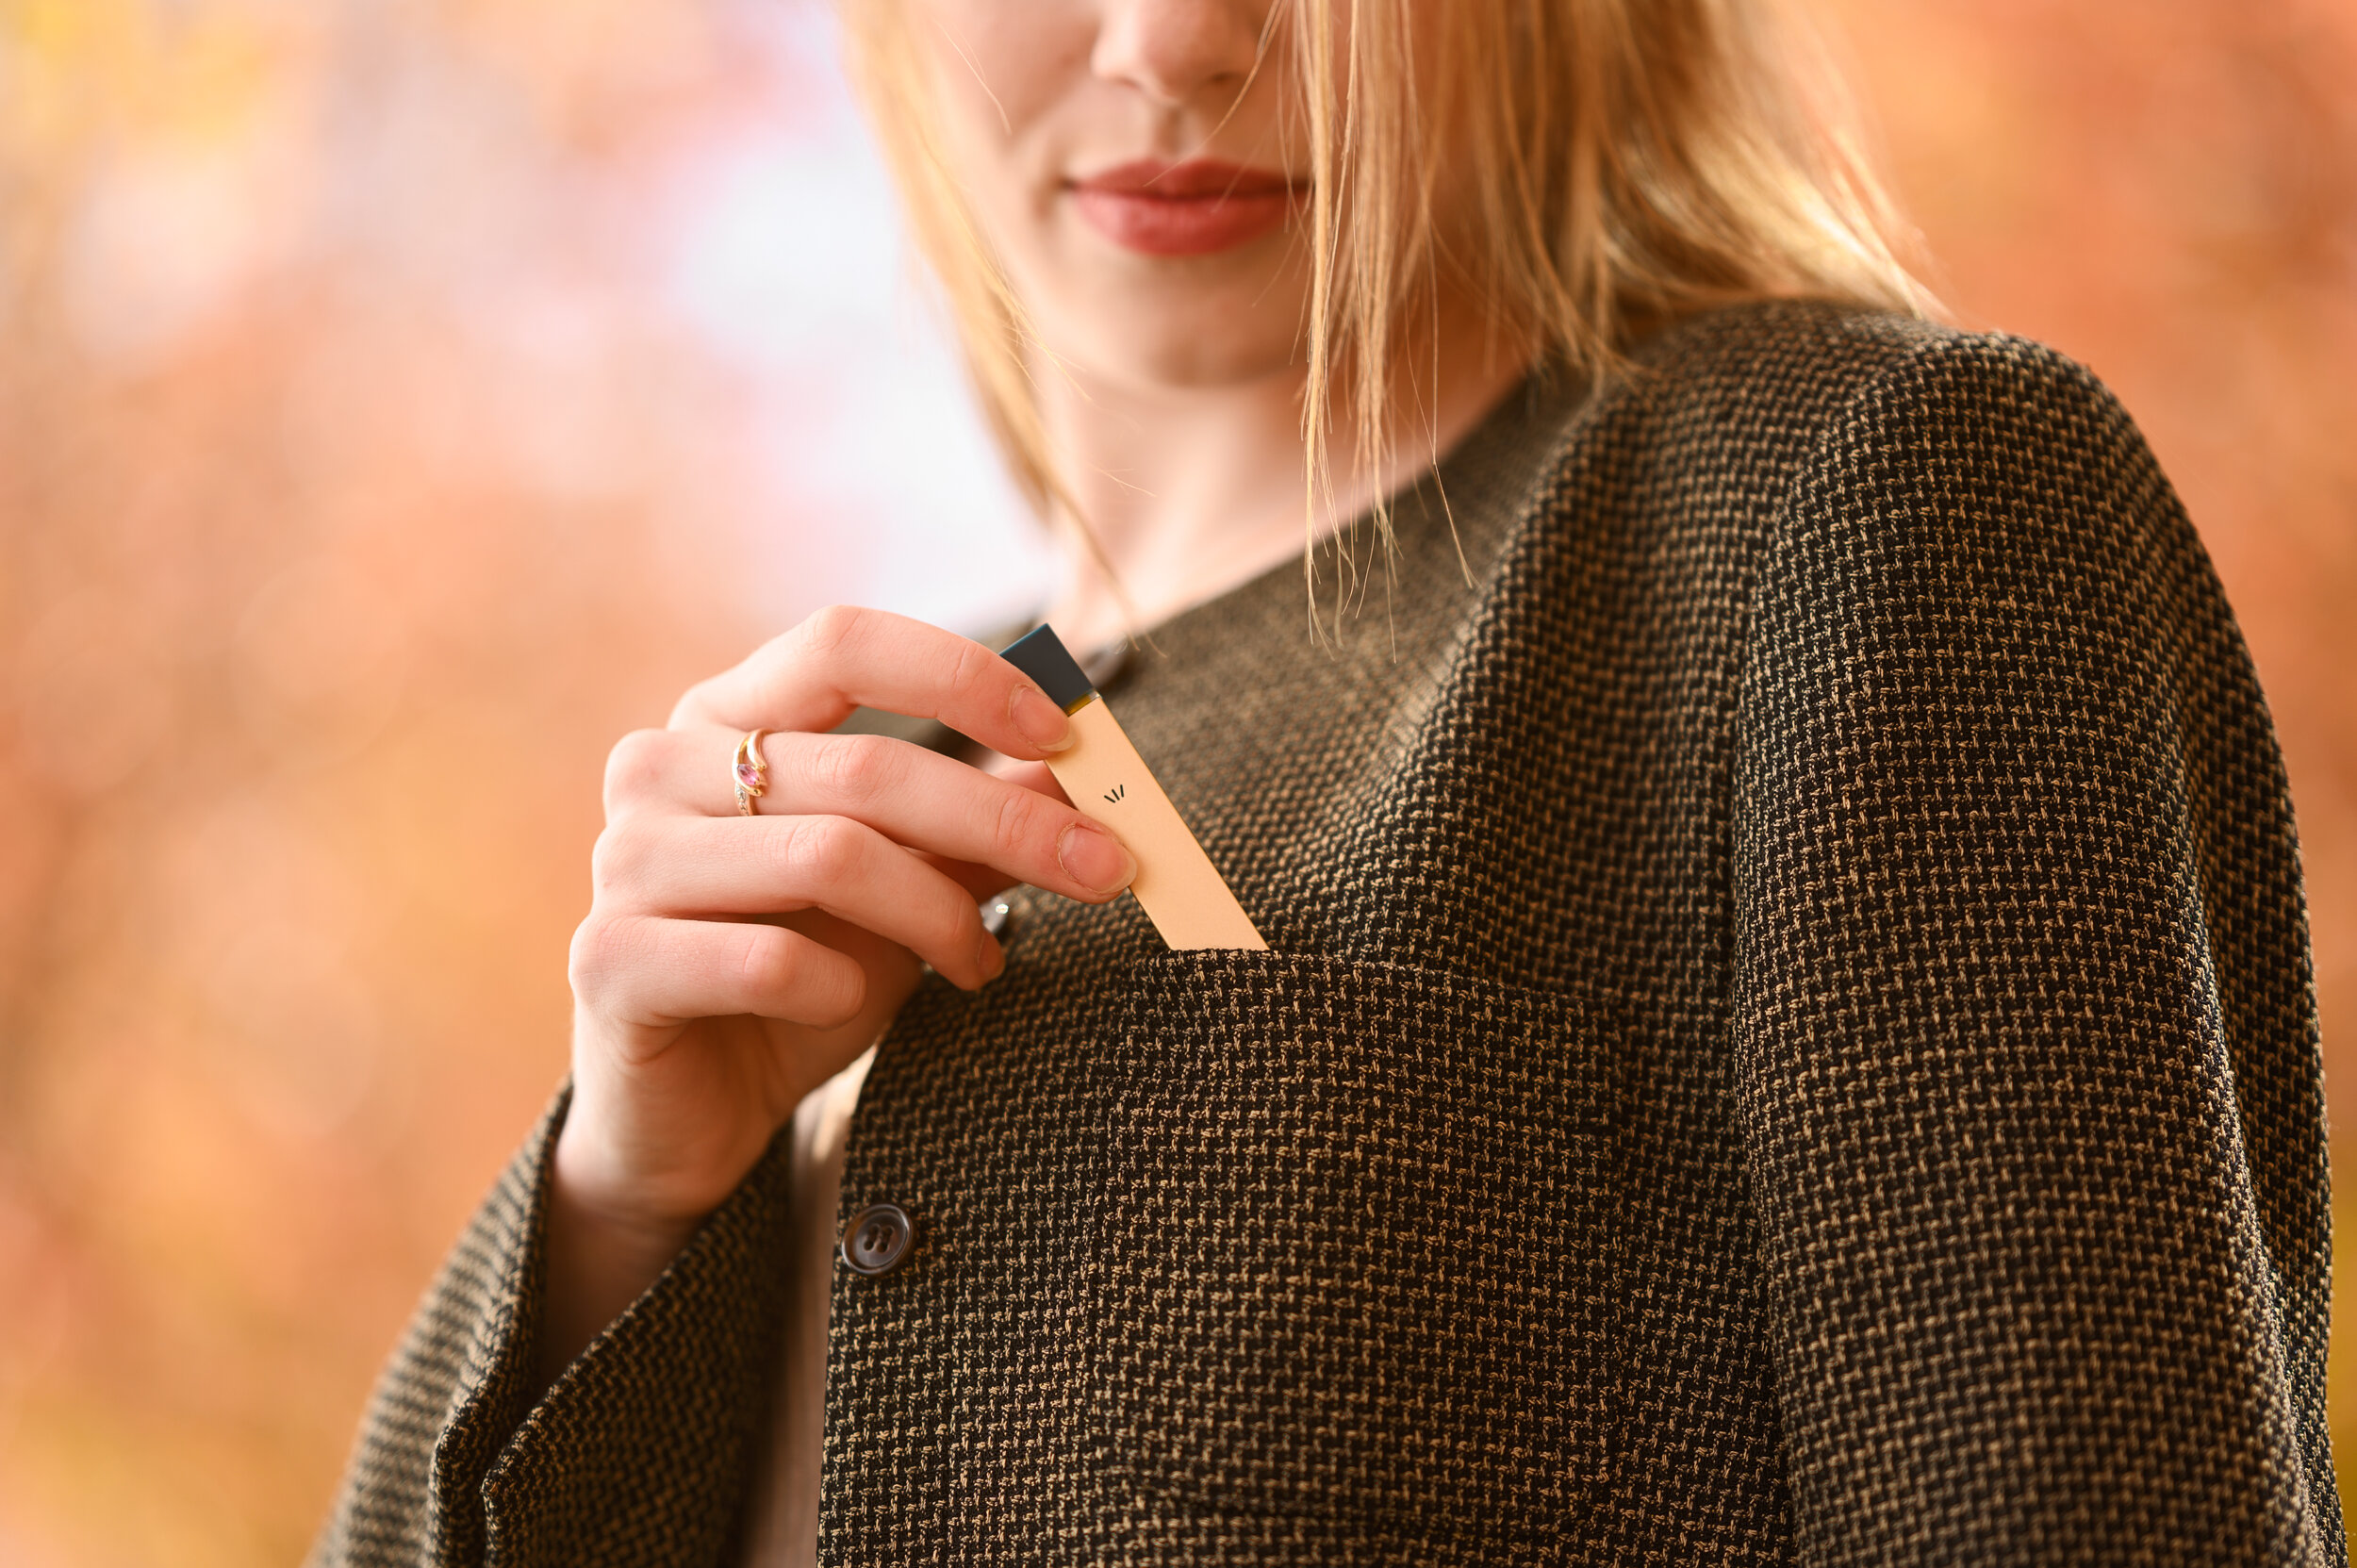
I saw the trees were a wonderful color but the leaves make it busy. I can reduce the tress to just their color and a softer pattern by shooting f/2. Next I consider the position of the sun. I know shooting with the sun directly hitting the models face would produce harsh shadows. Not what I wanted. Typical rule is to put the sun behind the model and expose for the shadows. I know I would be losing detail in the highlights but that’s fine, you can’t really have your cake and eat it when I comes to finding an exposure w/o flash. Lastly, to hide the busyness of chairs and garbage cans, I shot from a lower angle. There’s a bit of posing in there too but this is what runs through my head when presented with a scene. Don’t be afraid to try shooting in the sun either, you never know, it might be the style you we’re looking for.

Out of all the locations from this two day shoot, the Financial District of Toronto offered the most interesting light. If you head out there on a day with no clouds, the sun does some magic—it could be black magic, I don’t know—but the reflecting sunlight creates some beautiful lighting effects and colours depending on what it’s bouncing off of. The Financial District is one of my top #streetphotography spots for this very reason—that is of course until security asks you to leave.
Pro Tip: go there without a flash and a small mirrorless camera and they won’t care.
Sparkle BTS of the BTS (Day Job)

The Outside Studio
I take the studio outside all the time, but I have yet to take a backdrop outside. Taking a huge piece of paper outside comes with its challenges. there is the basic issue, like rain, but the silent killer is wind. Luckily, this was a nice calm, warm day and the paper, for the most part, stayed still. The sun was high at the time of the shoot so most go it was blocked with a large umbrella from Profoto. I rarely shoot without flash and this was not one of those cases. I added a Profoto B1 with a beauty dish camera left. Flash always adds some kind of direction to your work. That gradient of light helps the subject pop out from the background.
If you would like to get a visual of what the set up looks like, just scroll down. When it comes to working with color backdrops or any backdrop indoors, you would need to light the backdrop to get an even look. Since we were workout outdoors where the light is uniform, a simple exposure for the model and backdrop kept everything in check. I can promise you that there was no backdrop manipulation and most of these photos are close to what they look like straight out of camera. It was a please not having to set up 4 or more light and achieve something that looks complicated and clean.

OK, I may have lied when it comes to not manipulating the backdrop. But I promise you all I did was mess around with H/S/L and change the colors around to compliment the model's outfit. The photo below was an attempt to bring a little more mood to the shoot. By changing my expose to minimize the ambient light and turning the power upon the flash, I was able to create more shadows and direction. I also placed the key light almost behind the model and have the light skip off her face partially. Shadows also yield more interest. So they say.
So, if the wind is low or nonexistent, its completely worth it to venture outside and bring the backdrop with you. This was the first and not the last time.

In the real world, none of these photos are possible on my own. The styling for these product shots was done by @mrigini for @meripetiofficial. I am a big believer that people should play to their strengths. It’s most apparent on set where I am already dealing with composition, lighting and all the technical mumbo jumbo but at the same time having to do styling. I can do it, but a professional will get it done in less time and produce an even better outcome. It always takes a team to get the best possible outcome.


For the gear guys:
Camera: Fujifilm GFX50S
Lens: FujiFilm GF 110mm f/2
Lighting: Profoto B1, Profoto Large Deep Umbrella
Summer Street Shooting for Umoro
After all these years, street shoots are still alive and well. When you need to switch it up and need a real challenge, the streets will always provide you with ample stress. When summer hit’s here in Toronto, I do my best to take advantage of the good weather. The summers aren’t too long and the weather is perfect to explore all the nooks of the city. It was Canada Day, so the city is mostly dead. This would be the best time to explore the University of Toronto without getting in trouble. I am old now and I don’t think I can pass as a student anymore.

Street shooting is all about wondering and letting locations and scenes open themselves up to you. On the drive in, an alleyway caught my eye. After shooting near where we parked, we ventured into that alleyway. There we found many textures and interesting light to work with. Slow shutter work is always risky, but not every image needs to be sharp. This particular jacket has a unique tear away zipper. I was trying to convey the action of opening the jacket.
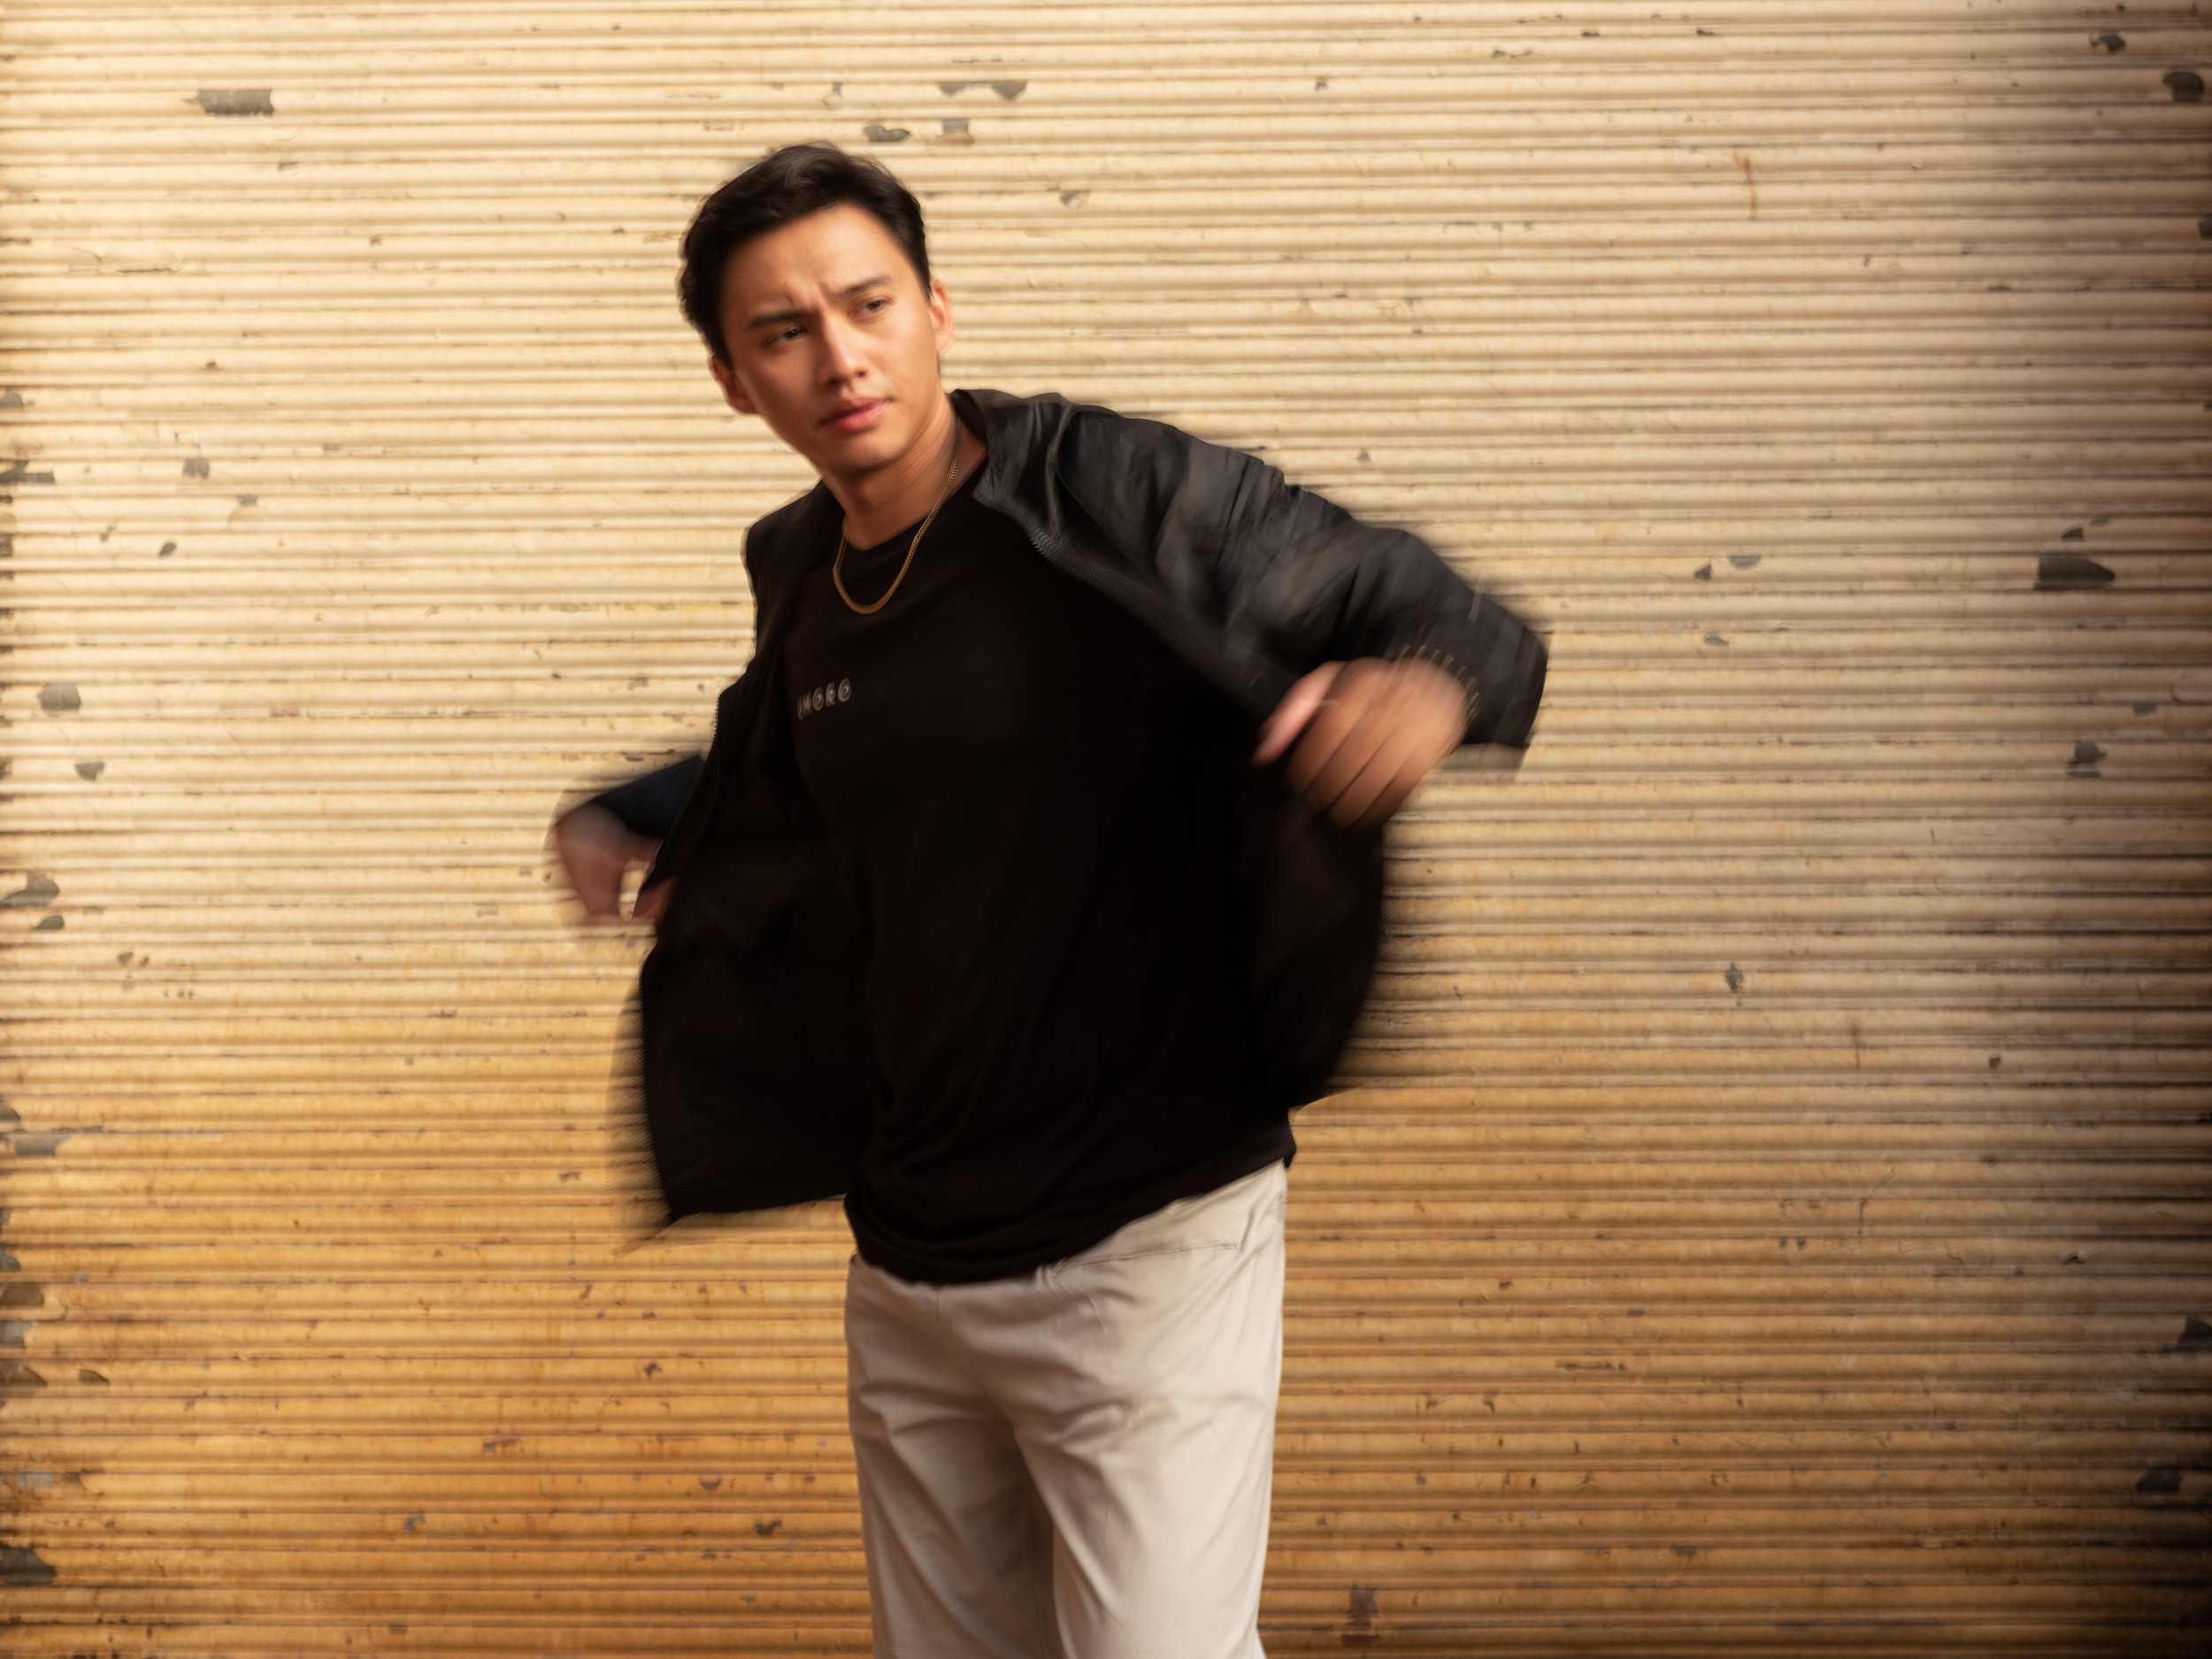
When it comes to street shooting, I pack very little. The only item really is the camera. I don't bring lights or reflectors. I intend to move quickly and get as much variation. I also know we aren’t always welcome everywhere we choose to shoot so the smaller the footprint, the most likely no one will bother you. Instead of lugging a flash (although I would love to) I hunt for good or interesting light. I am no longer afraid of hard light when I find it, with the Fujifilm GFX50S, there is forgiveness in the highs and lows.

Speaking of light, the best time to shoot would be the evening or early morning. Everything from the colors to the long shadows from the low angle of the sun really changes how everything looks. At this time, I’m usually in a rush to get as much as I can be fore the sun dips or gets too high. Speaking of street photography, I have to plan a solo shoot and really try some new techniques before the summer is over.
Model: Mark Gallardo
Shot for: UMORO
Multiple Exposures - ACP Customs
One of the first realizations when it comes to lighting cars and motorcycles is size. These subjects are way larger than a person. The only way to combat this issue is either to use many lights or the much cheaper way, light painting. Combining multiple exposures really helps create a more balanced photo.

Making sure everything is placed the way you like it by taking the time to compose the shot. Cementing that tripod in place is key. Slight shifts of the camera, even when hitting the shutter button can spell hell later in Photoshop. Having to alight and free transform until everything lines up can be tough. Prevent this issue by using a remote trigger.
Once you are happy with your composition, leave everything as is. When it comes to workflow, thinking ahead will save you a ton of time. As I lite the bike by section, I was mindful of the key light position. Lighting the bike completely would result in a flat image.

Fujifilm GFX50s + GF 63mm f/2.8 merged Pano
In post-production, the best thing about having multiple layers is the control. You now have full control over how bright any section of the bike can be. Fully lighting the bike wouldn't be as interesting, but this is subjective. The first image consists of about 6 images combined together. It's a fun test of my computer power, where 6 images stacked is a whopping 660MB o,r a whole bootleg movie from Kazaa. And that's just the working files. In the end, the extra effort placed on lighting and combining allows you to create a tailored image.
Basketball Under a Freeway
It will always be a compromise, use a DSLR for the autofocus and speed or go for the medium format and get more detail, colors and depth. When it comes to speed, nothing beats a DSLR, the autofocus is lightning fast but, it falls short with it comes to color and dynamic range. I chose the Fujifilm GFX 50s for this shoot. When it came to action, we had to redo it multiple times, but when you grab that shot, it's all worth it.

Fujifilm GFX 50s + 63mm - f/3.6 @ 1/100th/sec
For this shoot, I chose two Profoto B1s with midi octabank from Elinchrom and Profoto Zoom Reflector. We were shooting around 11:30 AM on a sunny day, but since the location is under a freeway, it was completely shaded. The light on the side acted as a natural rim light. The octabank was the key light for this shoot. A bit of flash goes a long way when it comes to separating your subject from the background. In the image above, there are two flashes, one camera left with the zoom reflector at its' lowest power and another in the octa camera right. Adding @drkev_hybrid in the foreground camera right really helps build a scene as well. Having someone playing basketball with a friend is more powerful in this context. This is my personal feeling, Kev did not object.

Fujifilm GFX 50s + 63mm - f/2.8 @ 1/125th/sec
This shot took multiple tries. Moving onto an EVF (electronic viewfinder) has its pros and cons. A DSLR is a real-time image produced by a mirror, an EVF is a screen and when you consider all the processes needed to create that image, there are some delays. I am sure with practice it will become easier, but for now, it is still a little challenging to nail shots like these. Since I am using flash without the Profoto TTL remote, I am trapped at 1/125th/sec which isn't the best for freezing action unless you press that shutter at the moment of inertia. It took a couple tries and a missed shutter clicks on my end, but in the end, we came away with one useable shot.
The lighting set-up for this shot is a little different. Adding more rim light wouldn't benefit this scene, there was plenty to be had from the sun. Instead, I opted to bounce light off the ceiling with a Profoto B1 with the Zoom Reflector. This helped reduce the exposure and retain some of the detail outside the underpass. Flash also aids in freezing action, something I needed desperately. There is an octabank camera left as well to help separate the shooter.

Fujifilm GFX 50s + 63mm - f/2.8 @ 1/125th/sec
If you can pose a shot, go for it. I start with the actual action and go from there. Considering that medium format cameras are slow, it's a must. Trying to capture this at its actual speed is nearly impossible or would take much longer. I am sure if you look, you can tell my light set up for this one pretty easily. Octabank camera left and the ceiling is a dead give away for the second light. If I could go back, I would have turned the power of the flash located camera right down just a tad.
These images were created for Myodetox. There was a book published and printed that I am waiting to get my hands on. Once I get it, I will update this post with some tear sheets of the design work. There are a couple of IG stories from the event I saw, it looks amazing. Seeing my work printed is why I do this. On to the BTS.

iPhone X
OSC Cross Catalog
Photographing catalog images is all about nailing the look and coordinating time to make the most of the studio time. This day we shot 109 items for OSC Cross in a 8 hour period with all prep included. Photographing on white paper is no longer the status quo when it comes to product photography. We choose a textured background and an interesting floor, one that did not take the viewers eyes away from product itself. Lighting with direction and making sure there are controlled shadows helps bring interest to the products. Not only does it help show texture, but dimension which is important to the both the client when viewing the product, but for the manufacture, demonstrating a sound product. Priority always goes to the product on these shoots.


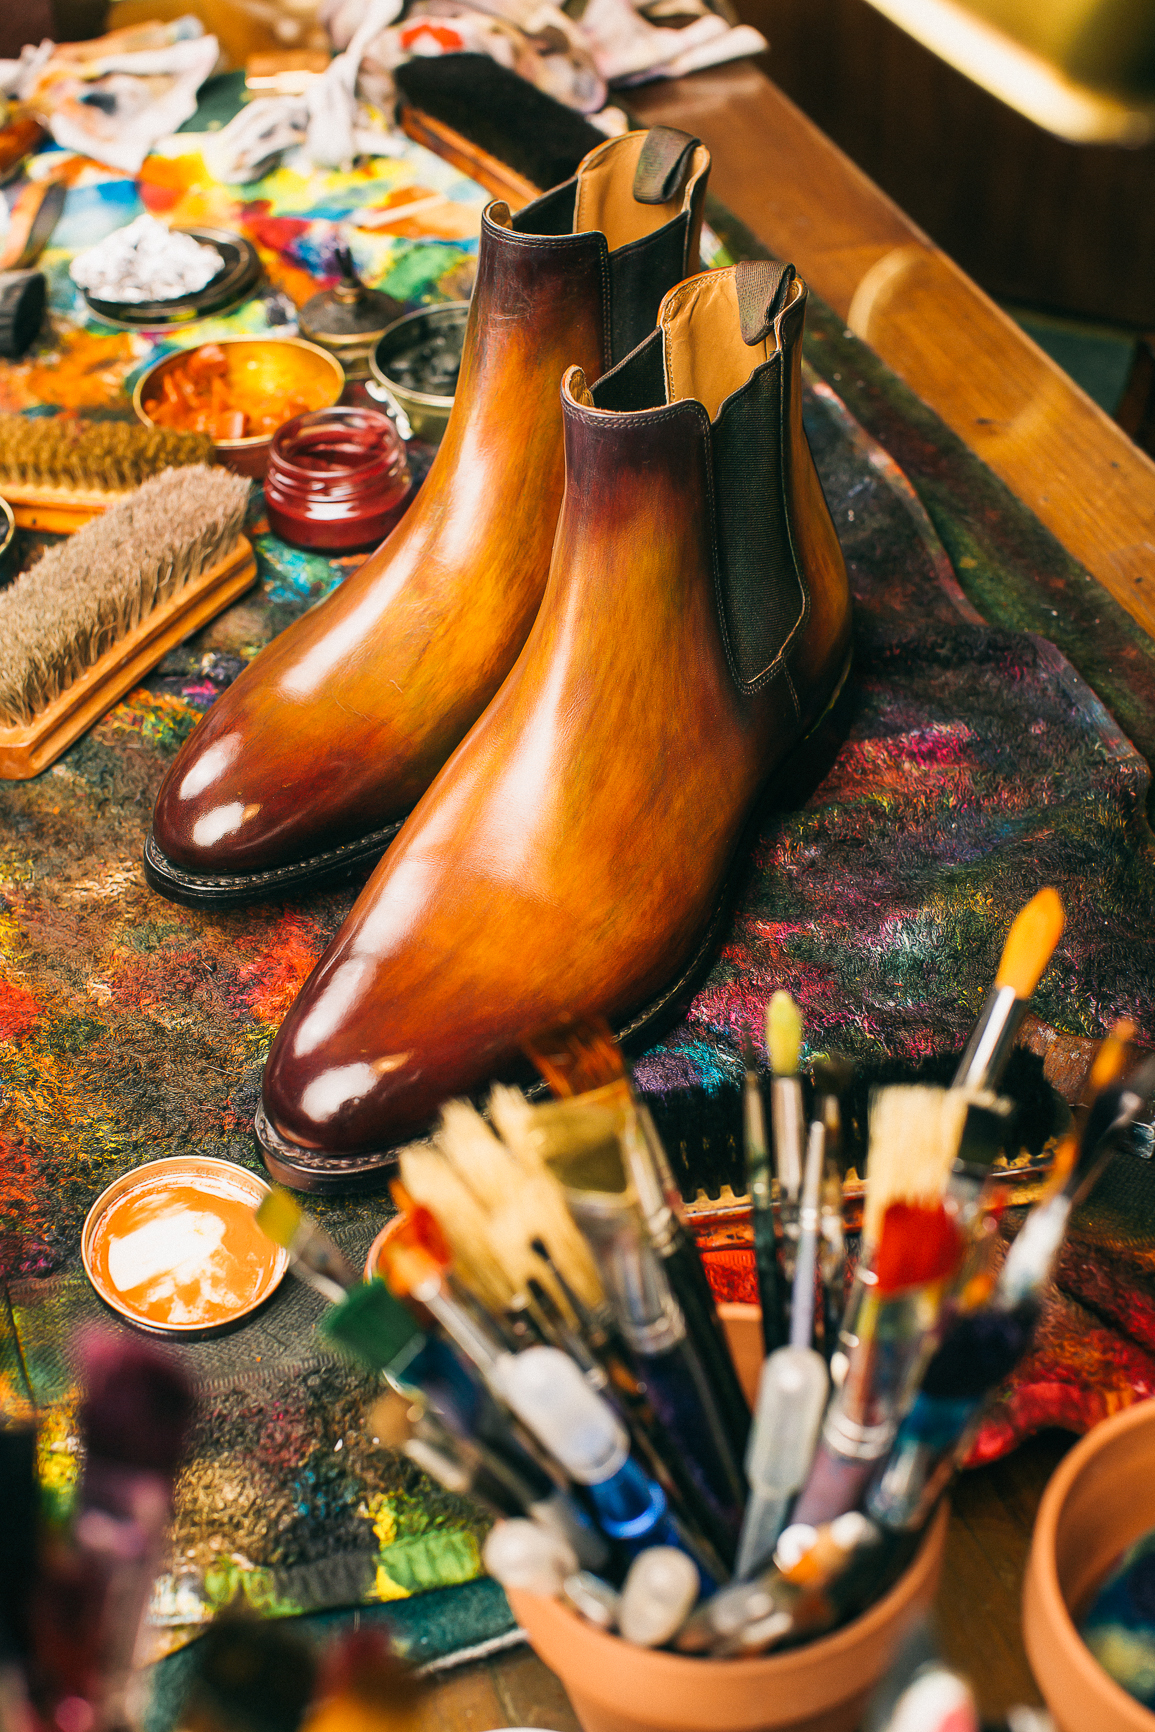
Loding
Luckily, during a press day at Loding, I had the chance to set up some big lights and capture the works of art put forward by their patina master. We were the last ones for the day, so the little extra time allowed me to go the extra mile when capturing his portrait and one off works of art.


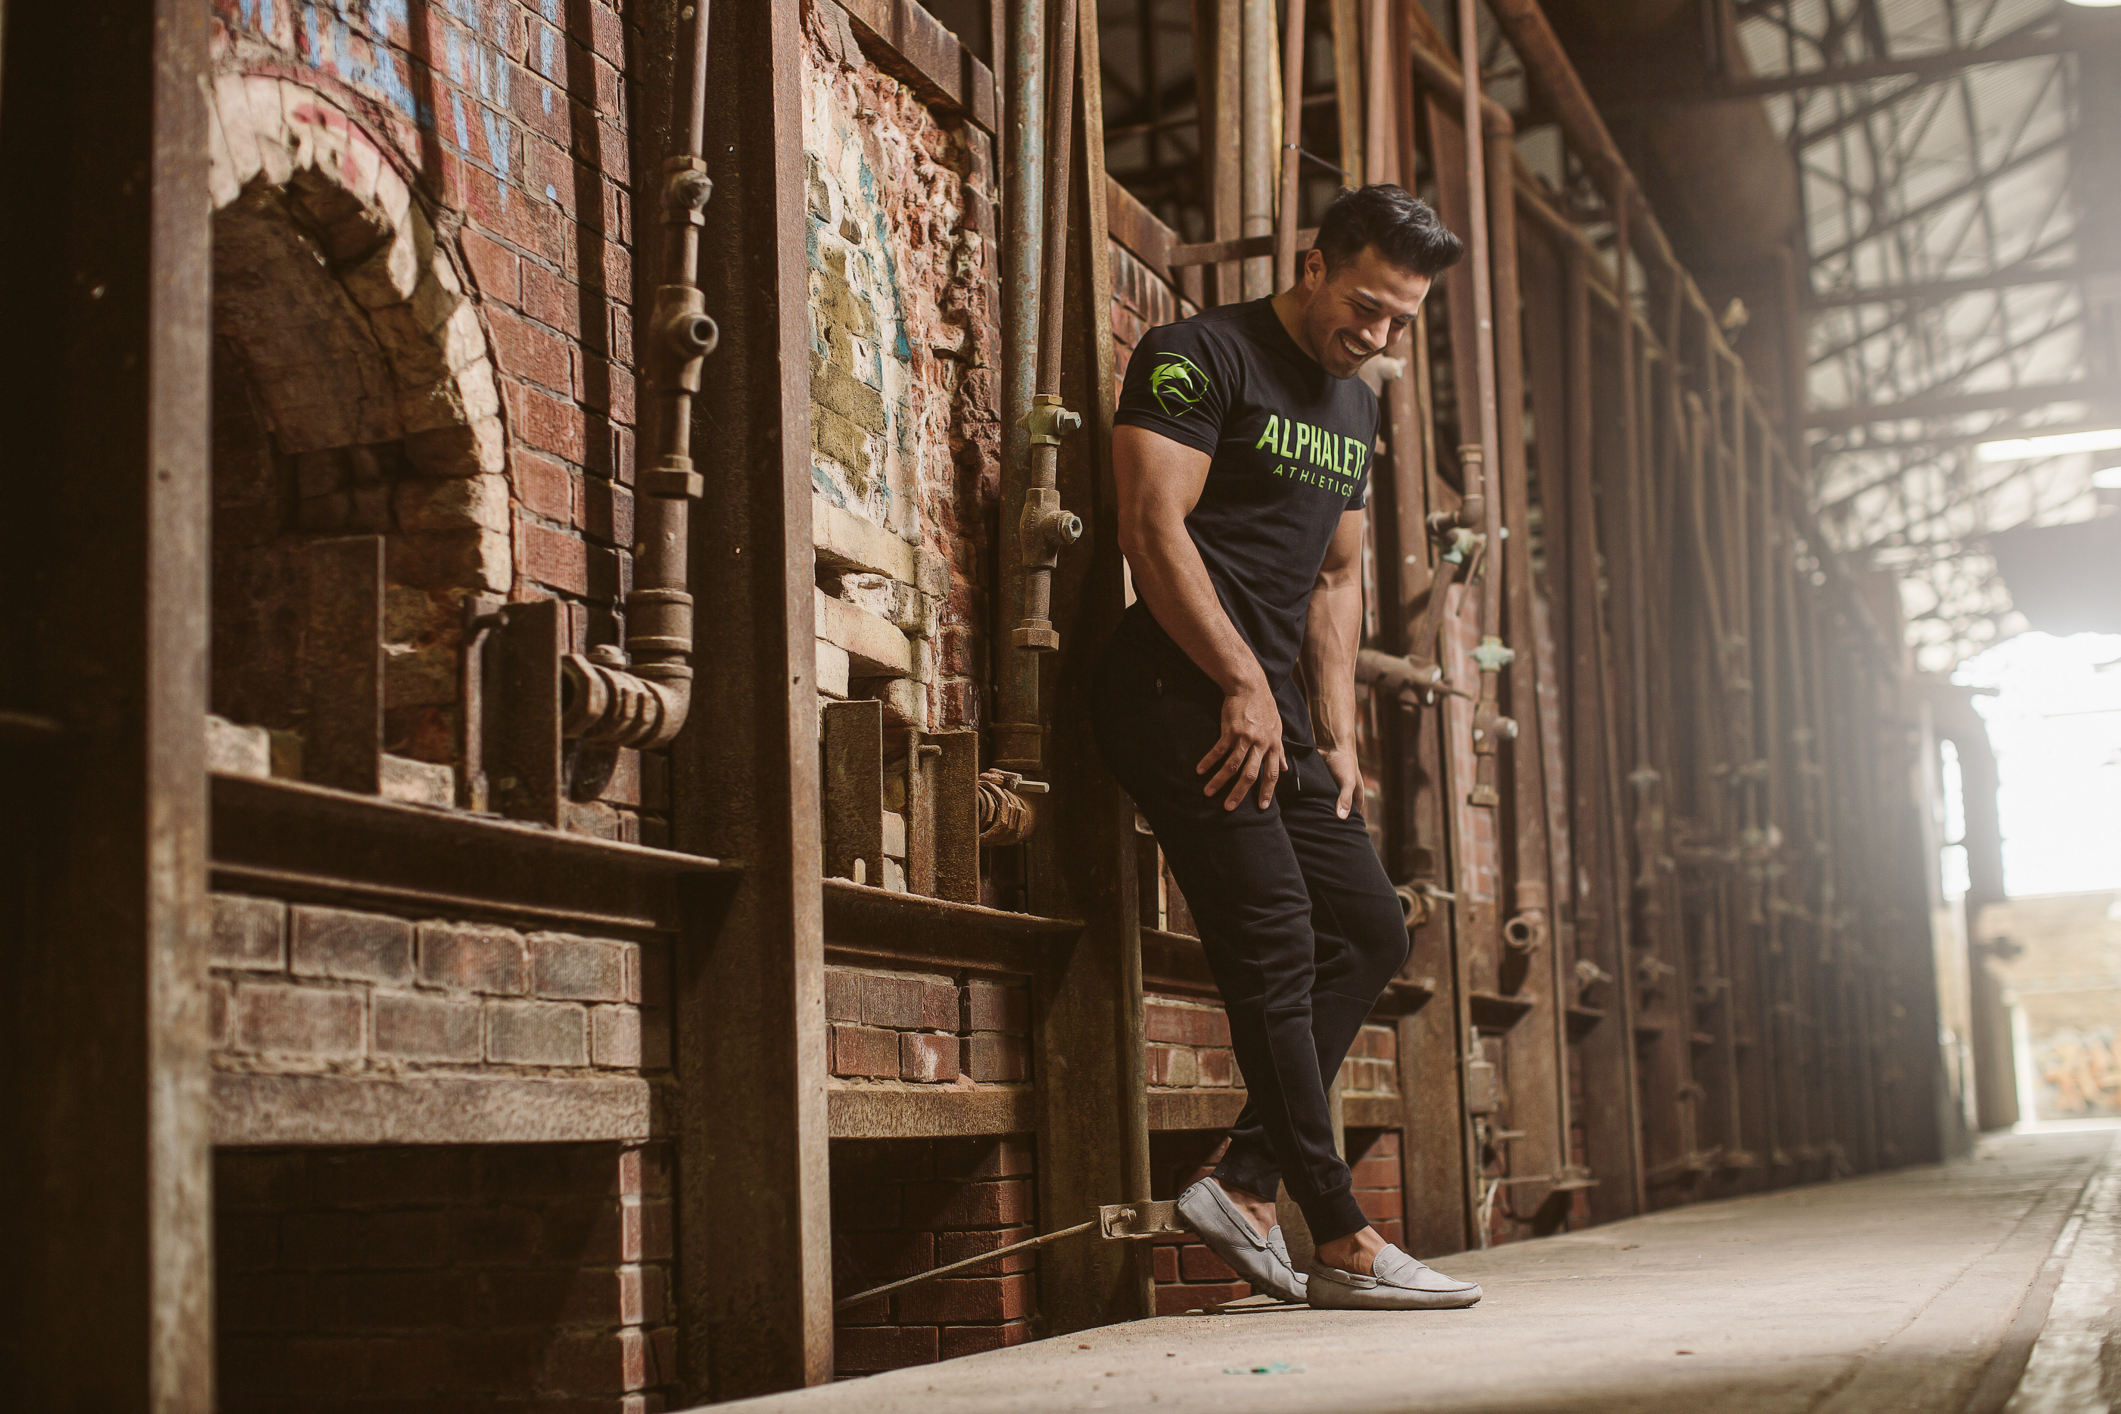
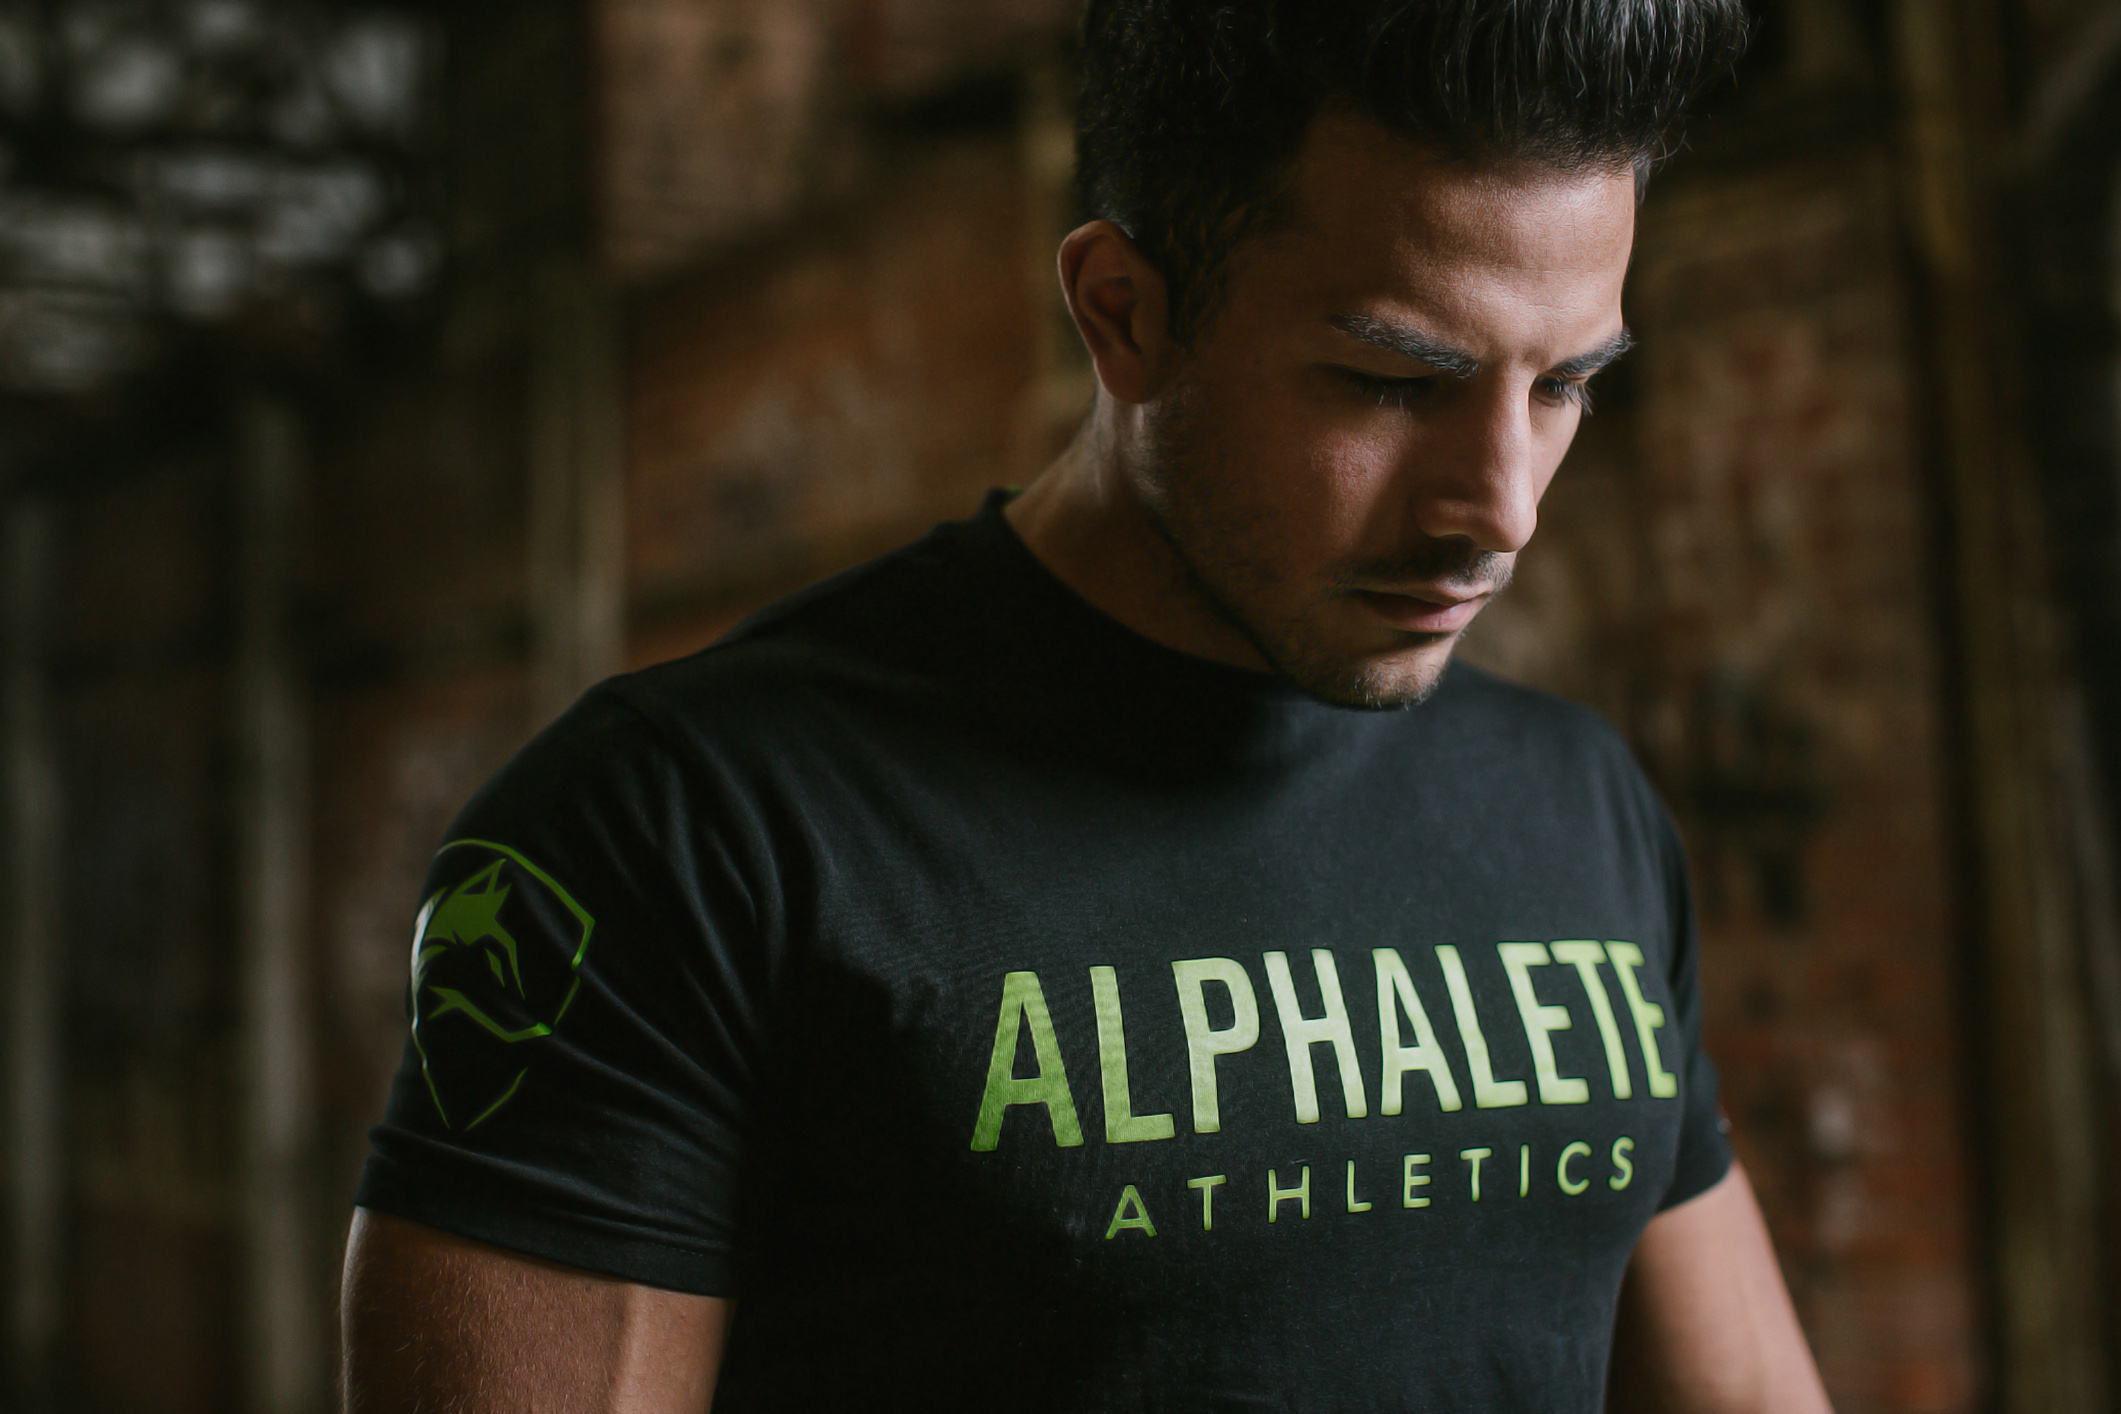
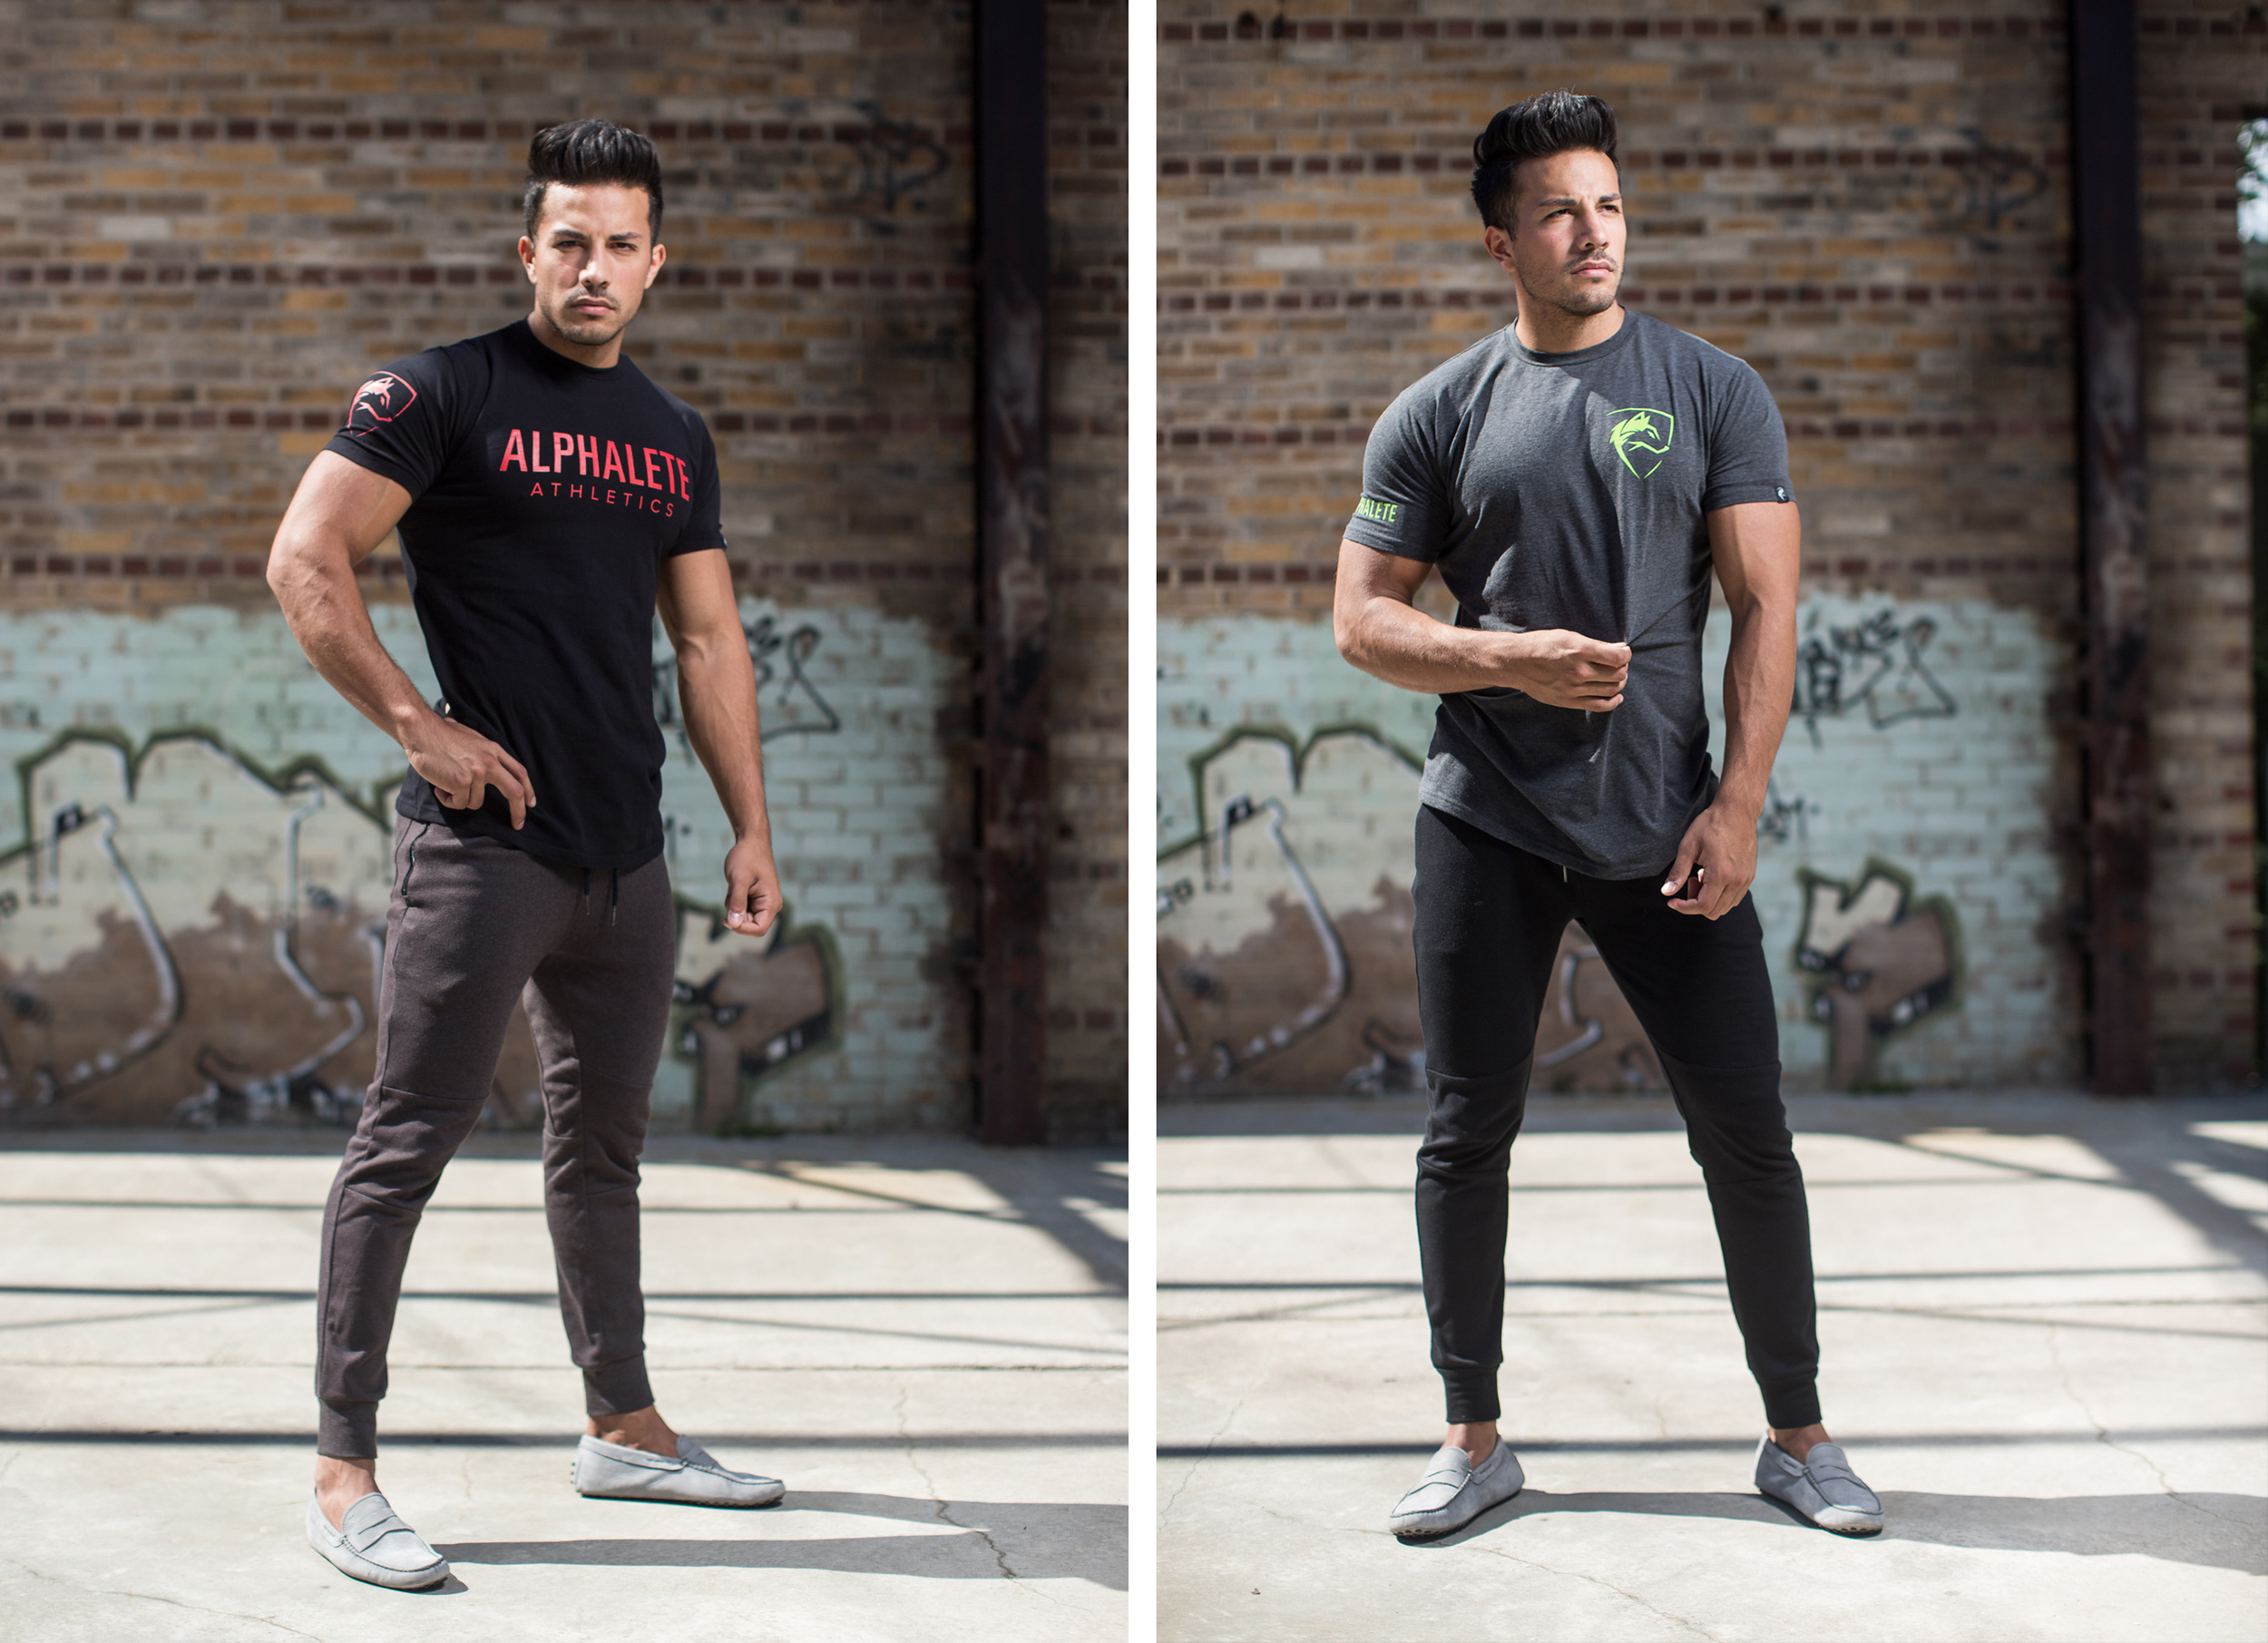
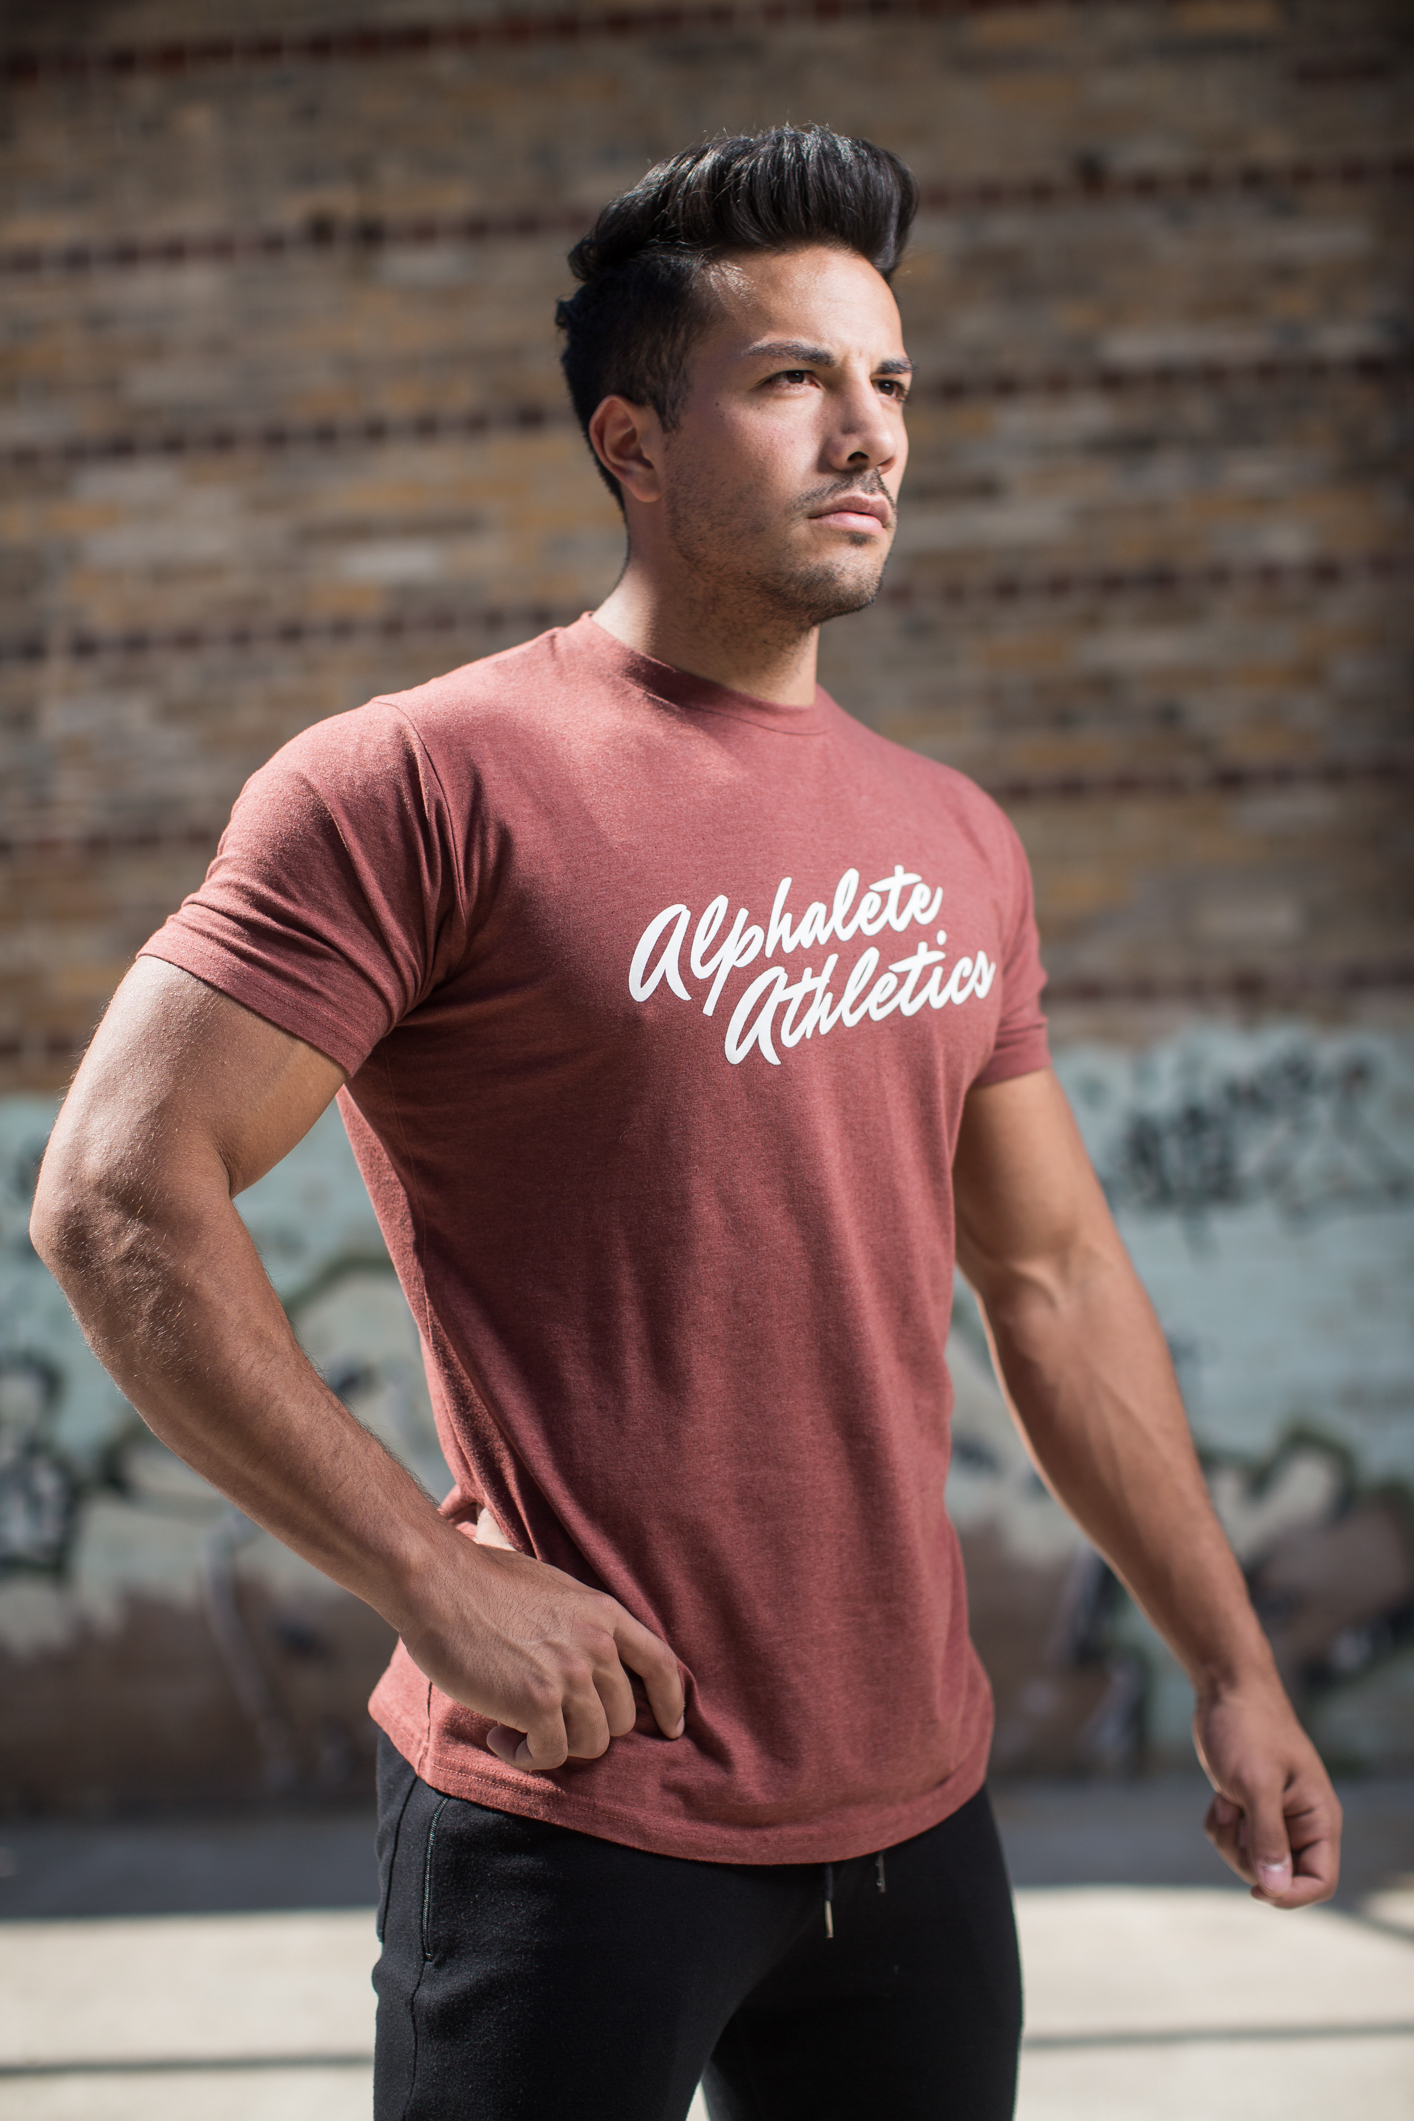
Christian Guzman & Alphalete for Umoro
I had the pleasure of working for Umoro to shoot Christian Guzman's Alphalete collection for the upcoming season release. It was to be a quick and dirty shoot. Gear that day would be the Canon 5D MK3 + 50mm f/1.2 and the Profoto B1 modified with the beauty dish. On this shoot, I was entrusted with creating catalog images and editorial images which would be used for their instagram profiles and web store site.